Document
Create Document
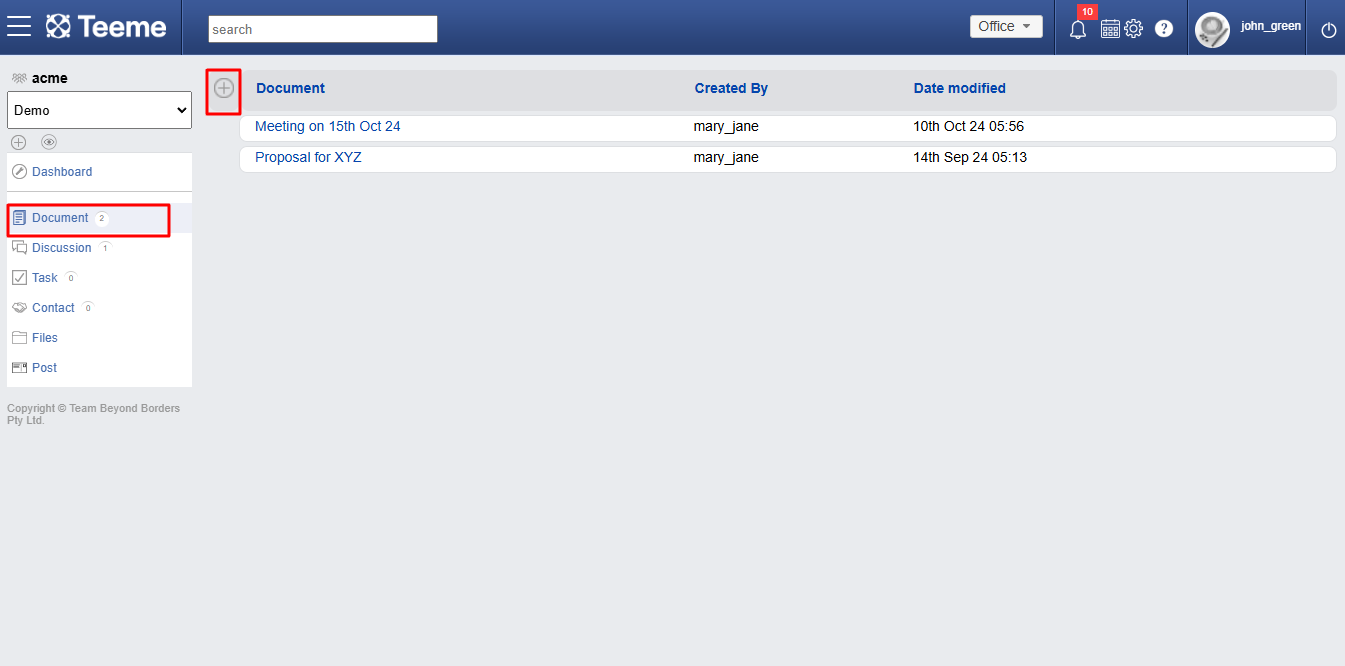
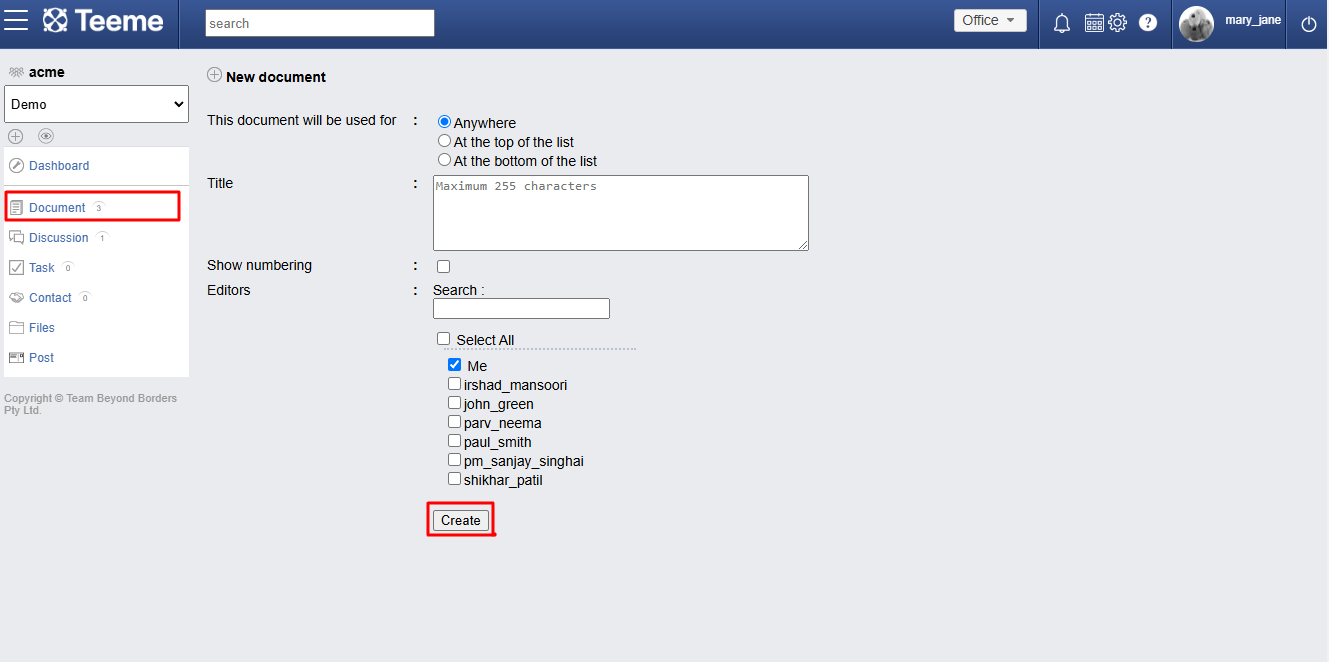
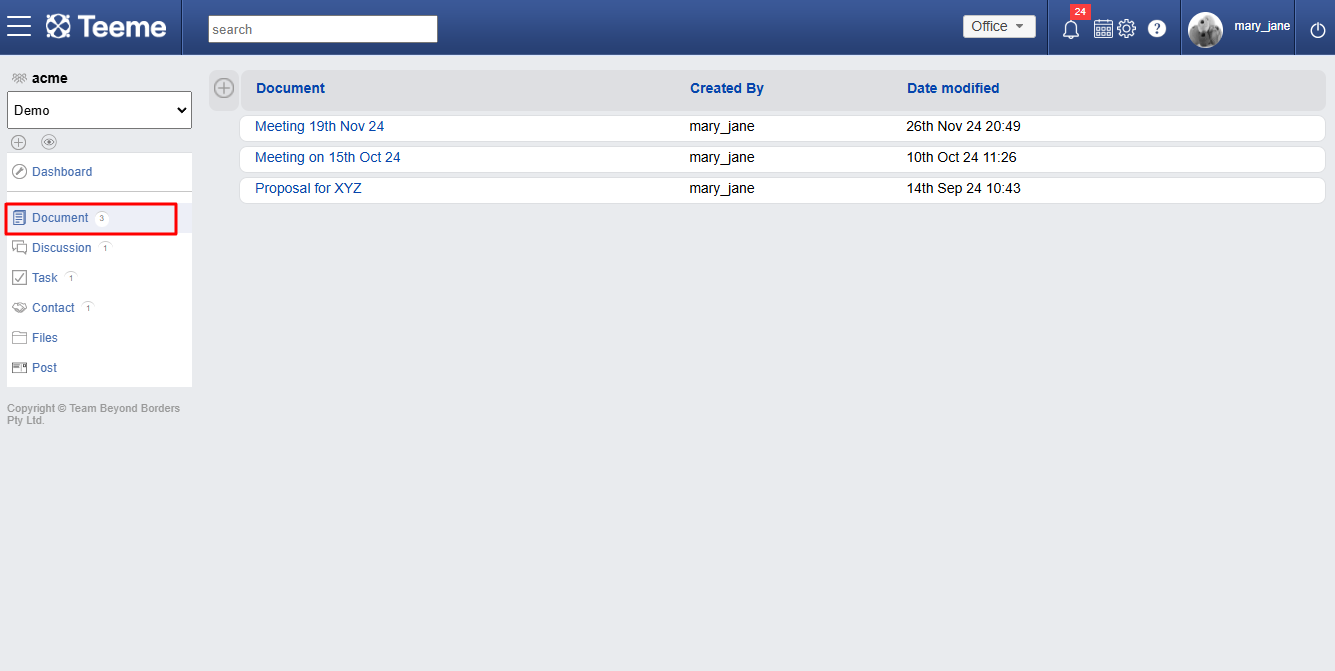
To create a new document, click ‘Document’ menu item in the left menu. This will load the document list page where you can click on ‘+’ button to start creating a new document (screenshot 1 below). Once the ‘New document’ page is loaded, you can fill the details in the form and click ‘Create’ button (screenshot 2 below).
Import and Create
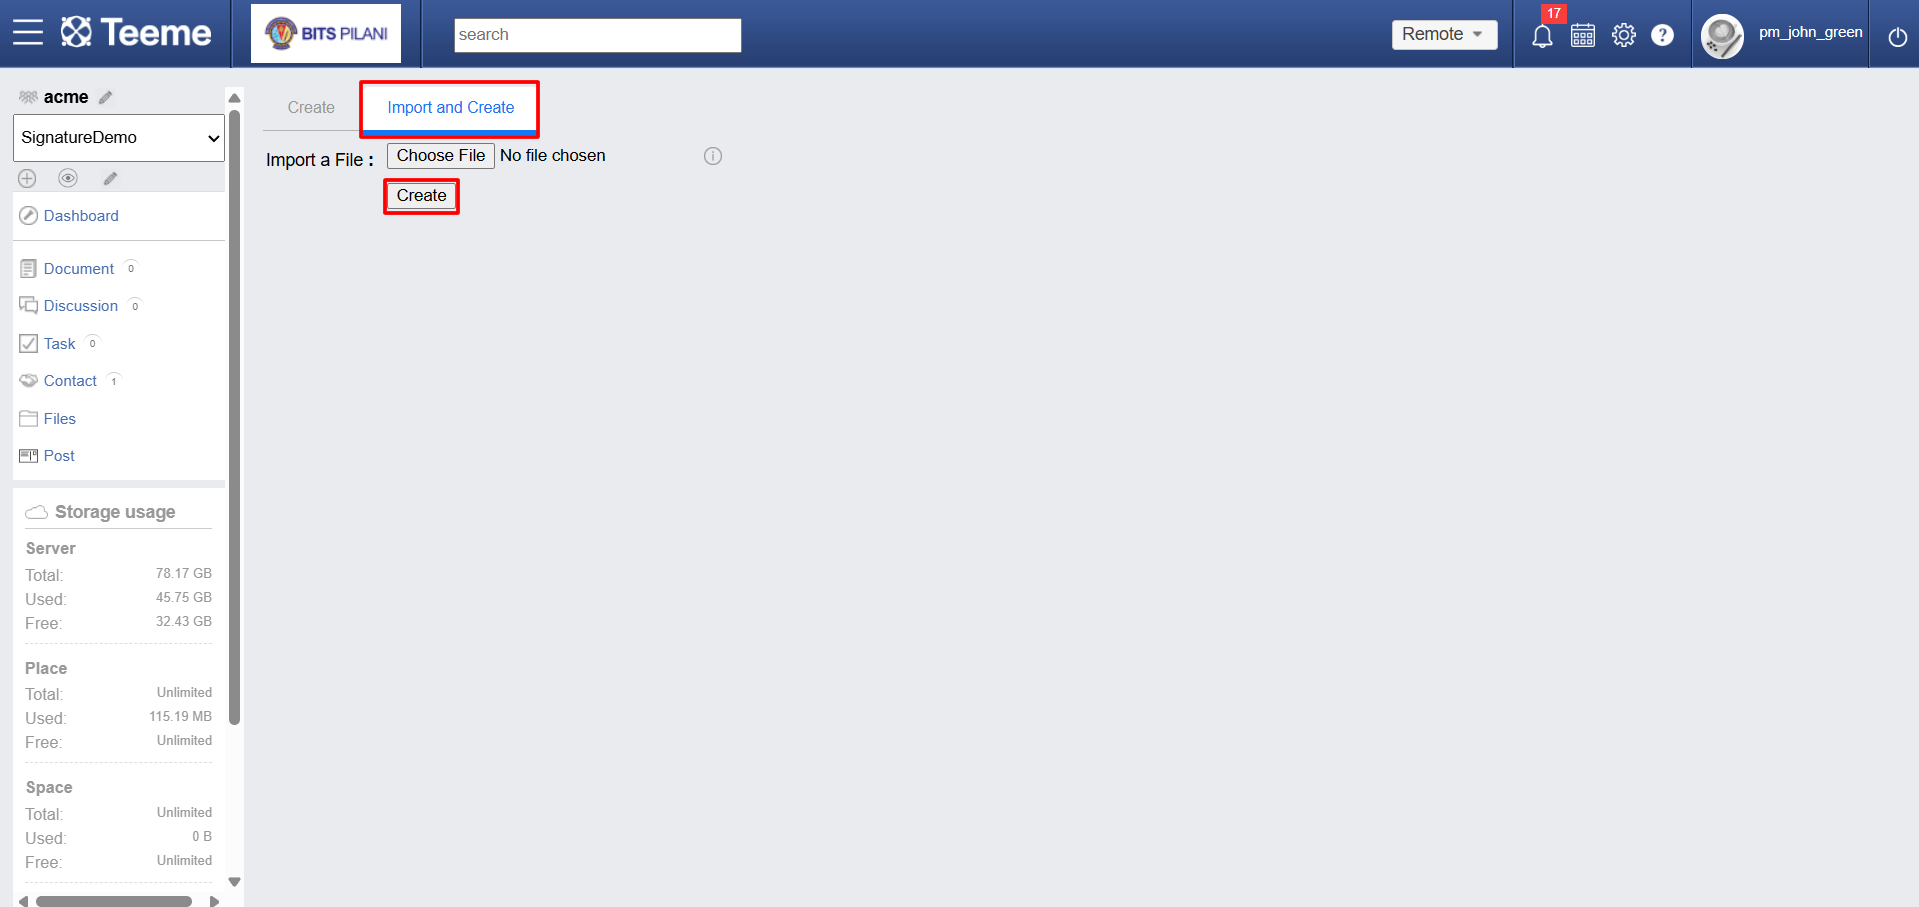
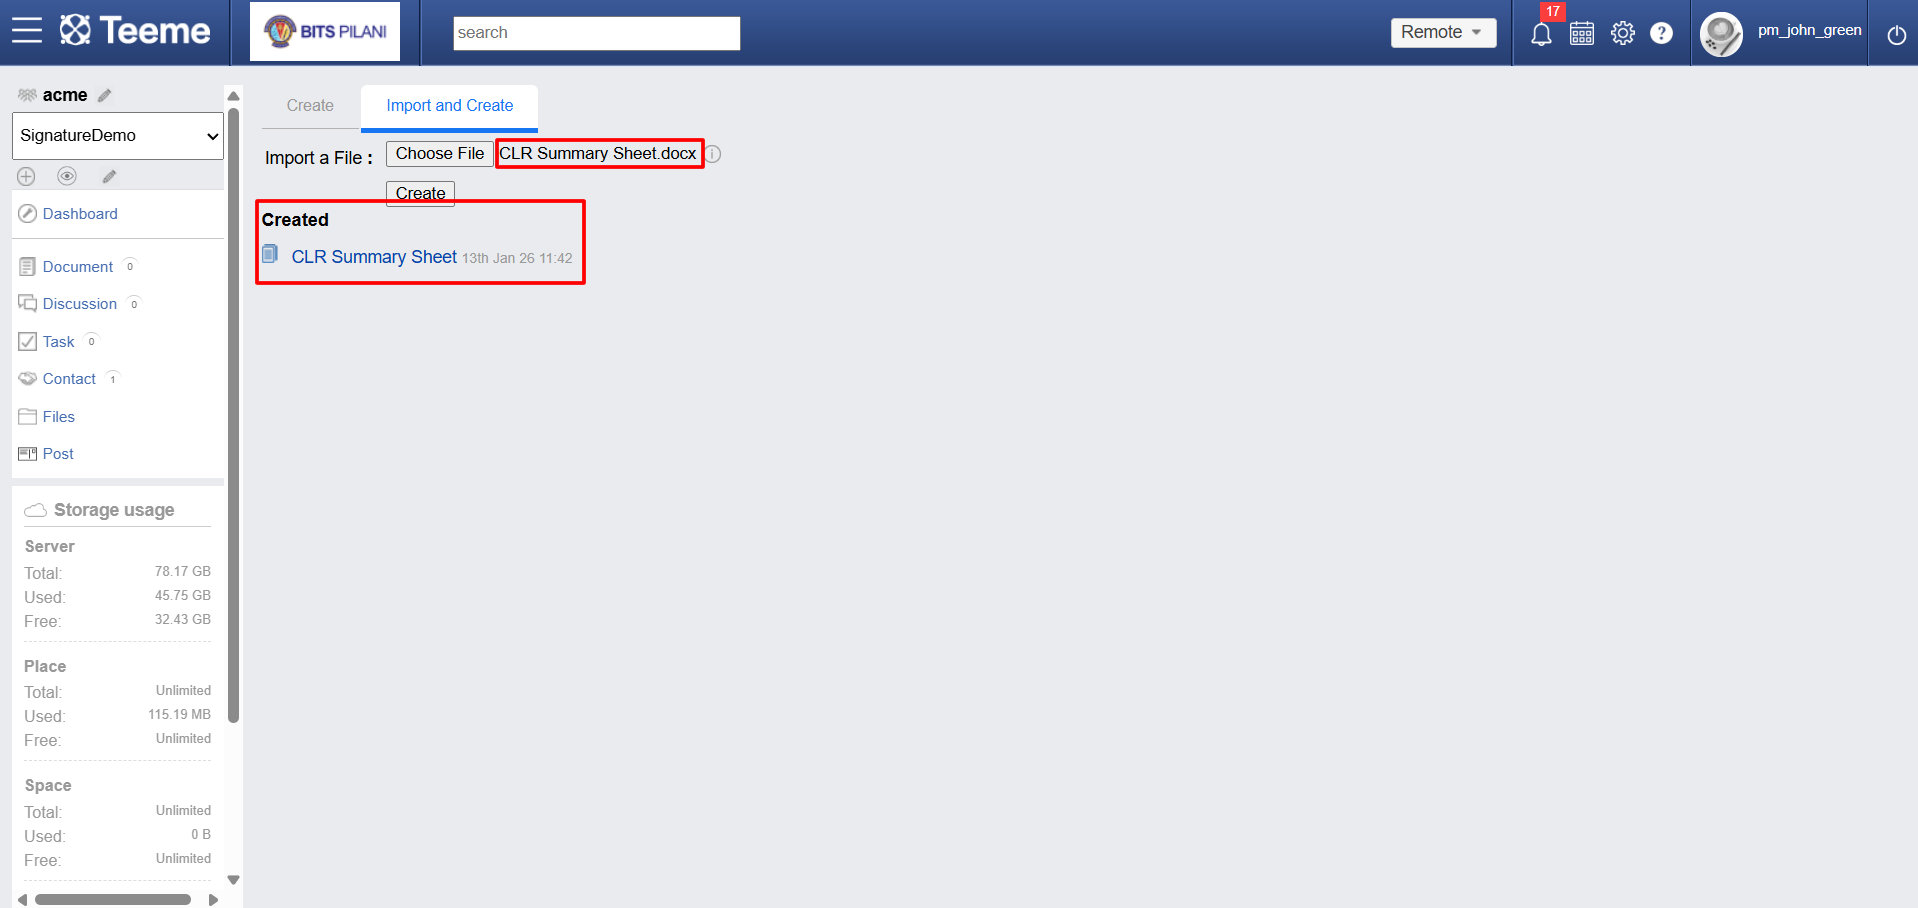
To create a new document using the import feature, click the Documents menu item in the left sidebar to open the document list page. From there, click the "+" (Plus) button and select the Import and Create tab. This will open the upload page where you can click Browse to select a PDF, DOC, DOCX, or text file from your computer (see Screenshot 1 below). Once your file is uploaded, click the Create button to generate a new document from the file (see Screenshot 2 below). A link to your newly created document will then appear at the bottom of the page for easy access.
View document List
To view list of documents, click the ‘Document’ menu item in the left menu. This will load the list of documents.
View single document
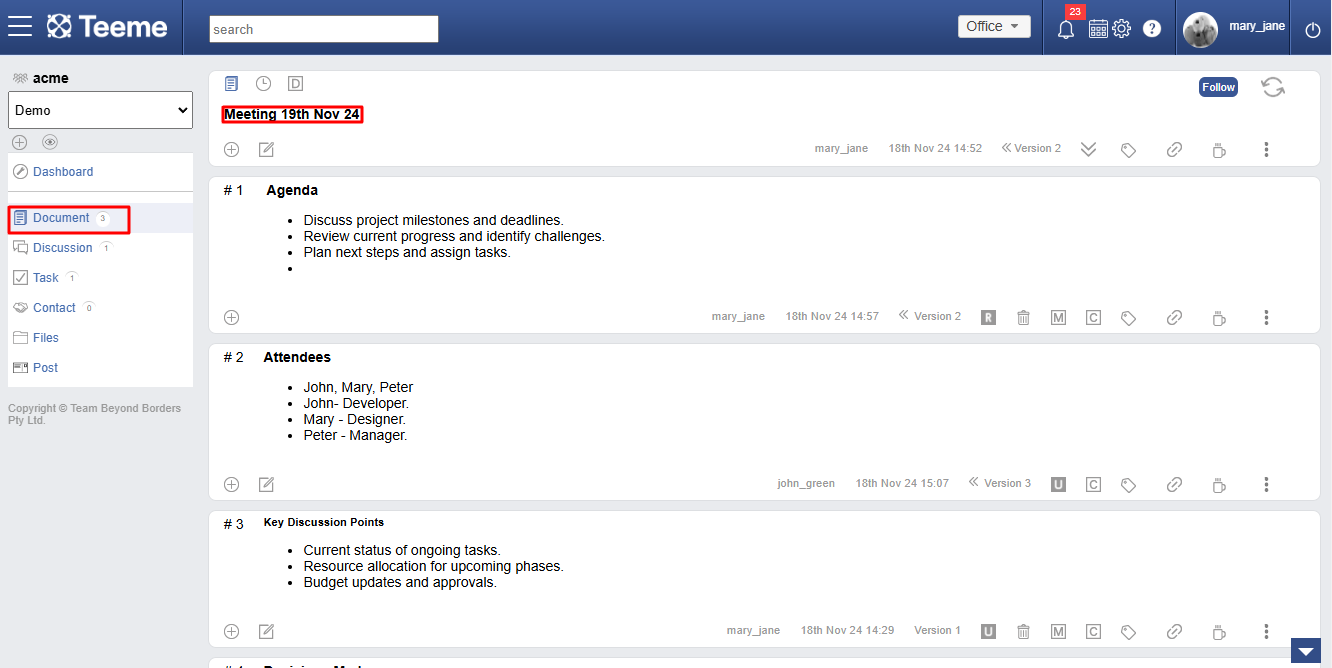
To view a single document from the list of documents (see view document list above), click any document in the list and the document page will be loaded.
Edit document title
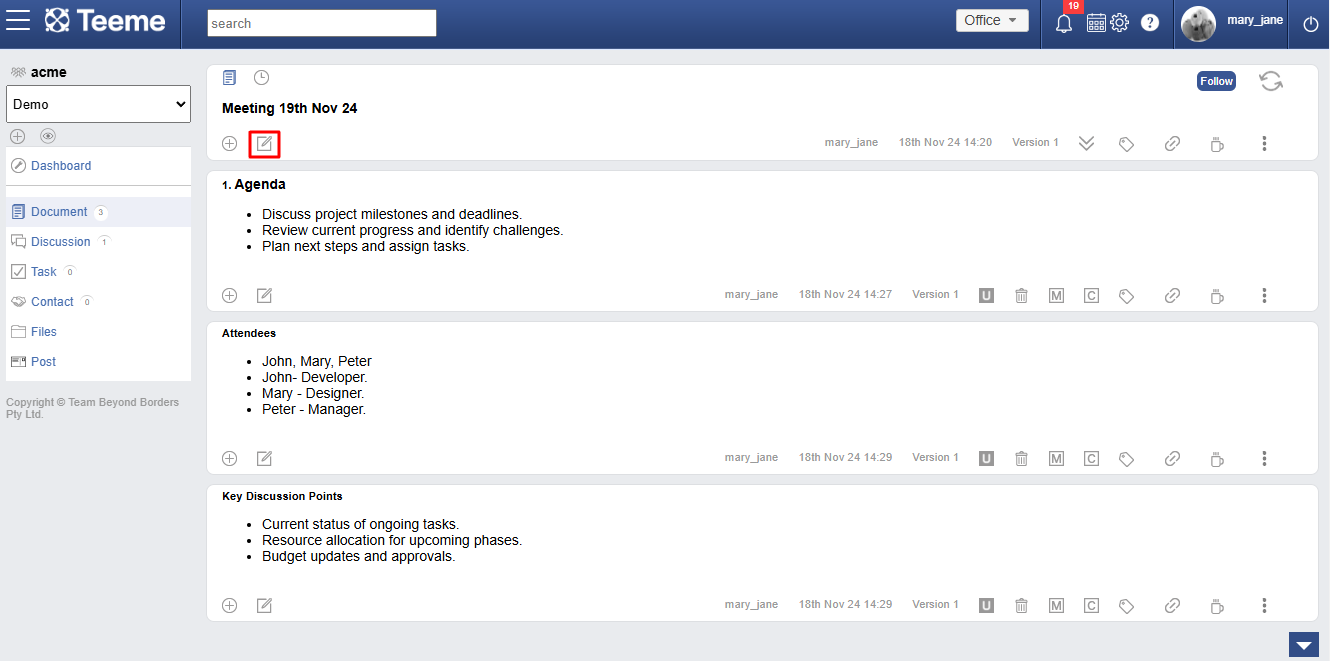
To edit the title of a document, click on the ‘Edit’ icon in the document page.
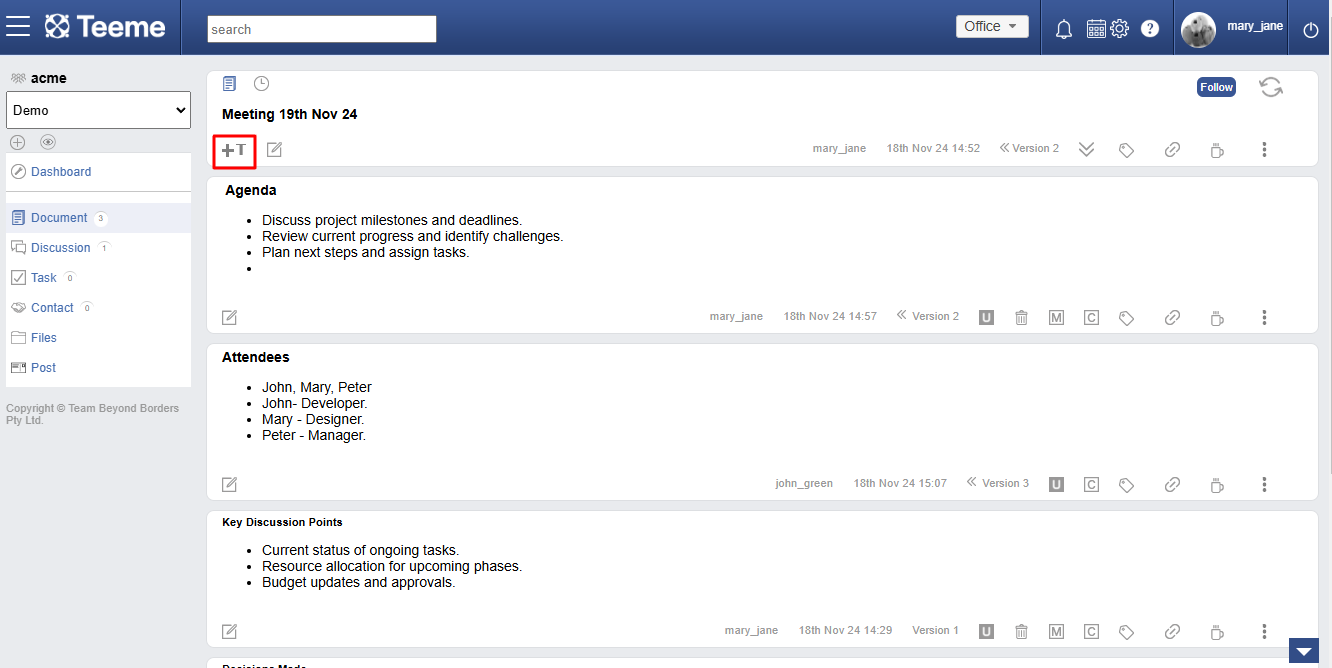
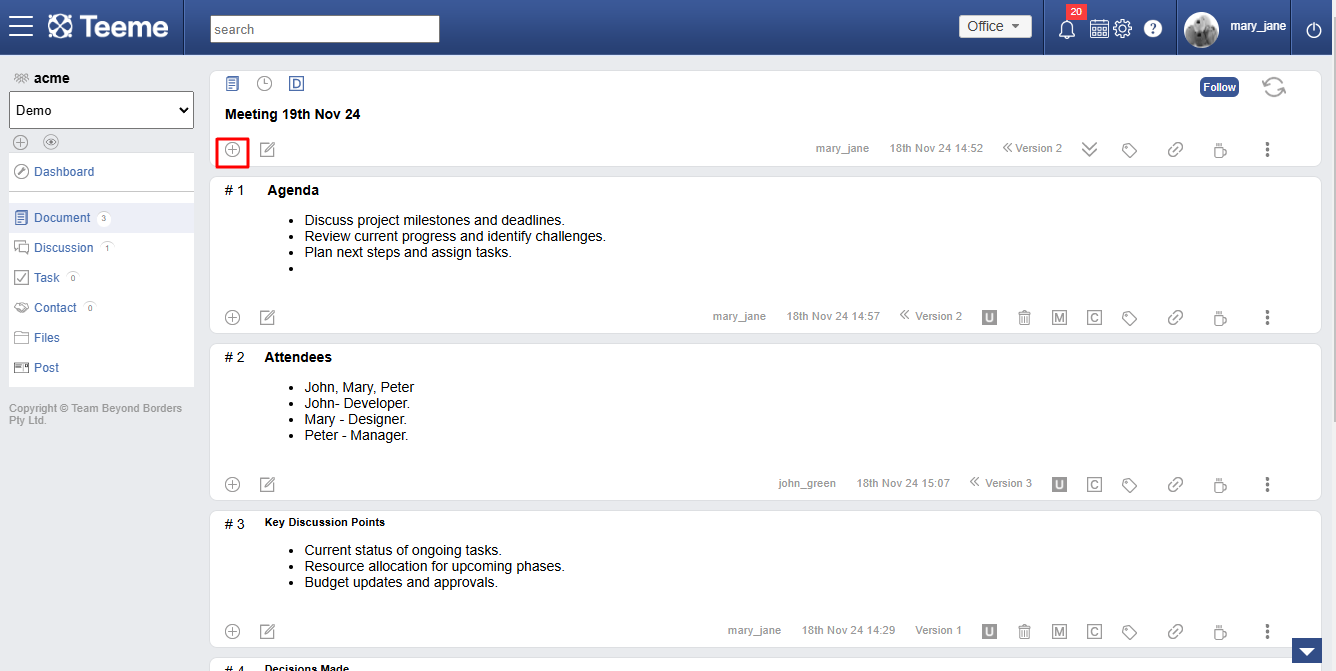
Add section
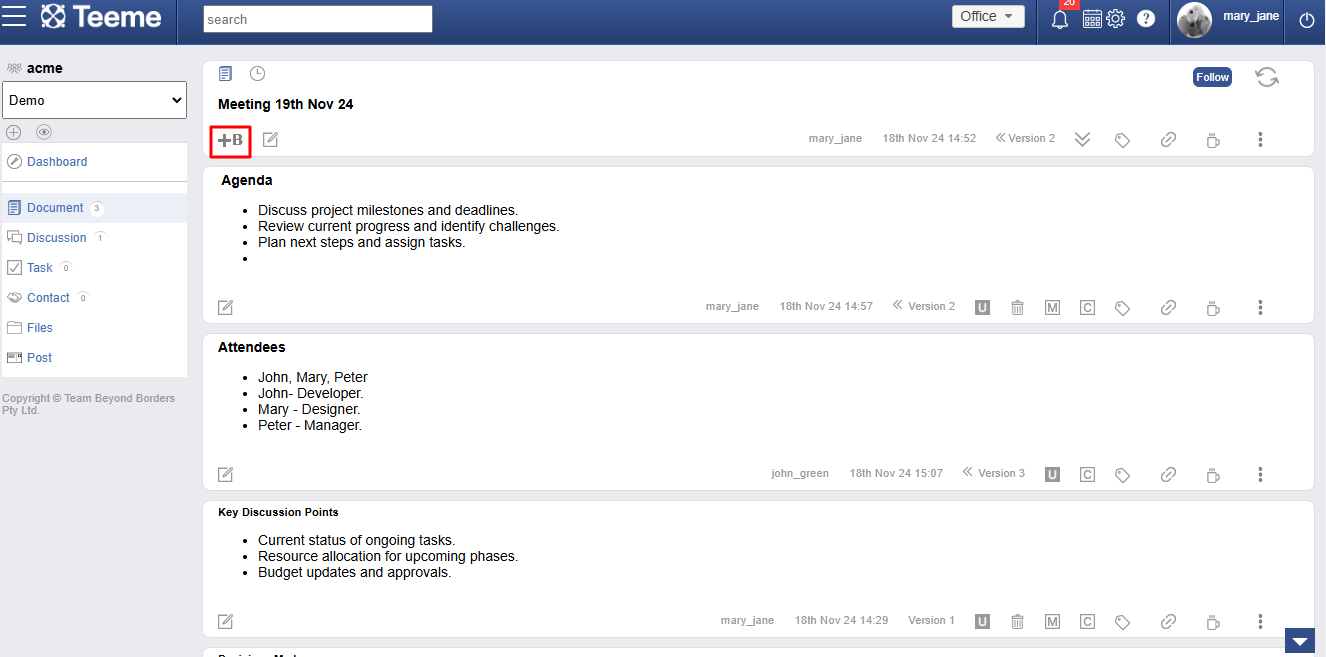
To add a new section in a document, just click on ‘+’ icon in the title or any sections, and a new section can be added below the section.

Edit section
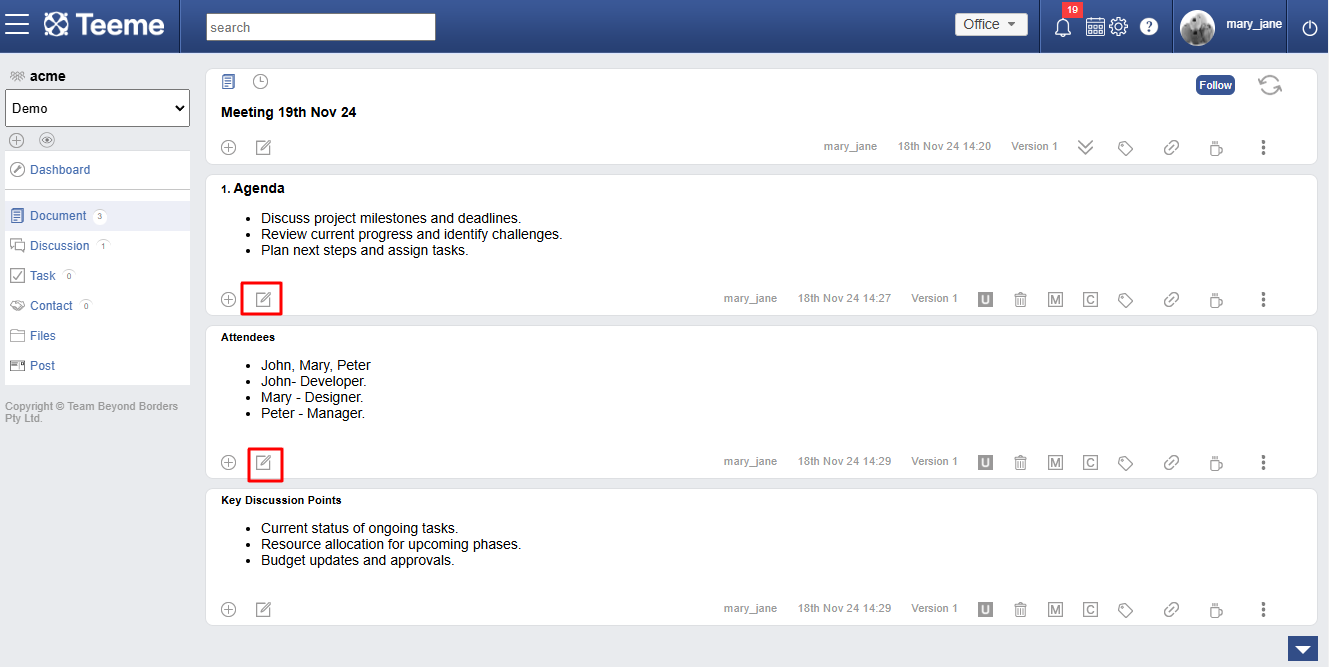
To edit a section in a document, just click on ‘edit’ icon in any section.
View section versions
When a user edits a section, a new version of that section gets created. This preserves all the changes a section goes through. You can see the version navigation in the screenshot below.

Create document versions
Once a document has been populated with content, the originator can create subsequent versions of the document using Create Version. The new version allows further team interactions and contributions while the previous version preserves the document at the point for reference.

View document versions
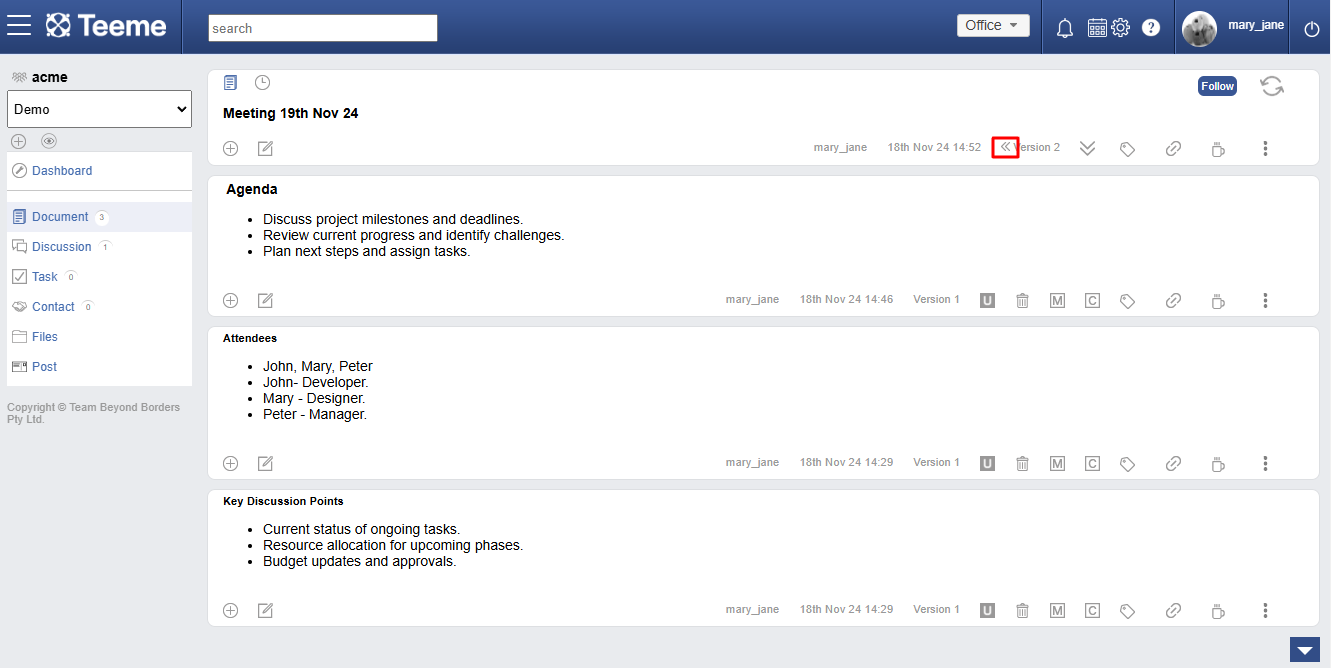
Document with multiple versions can be accessed by ‘<<’ icon. Just click on it to navigte between previous versions to latest.
Timeline view
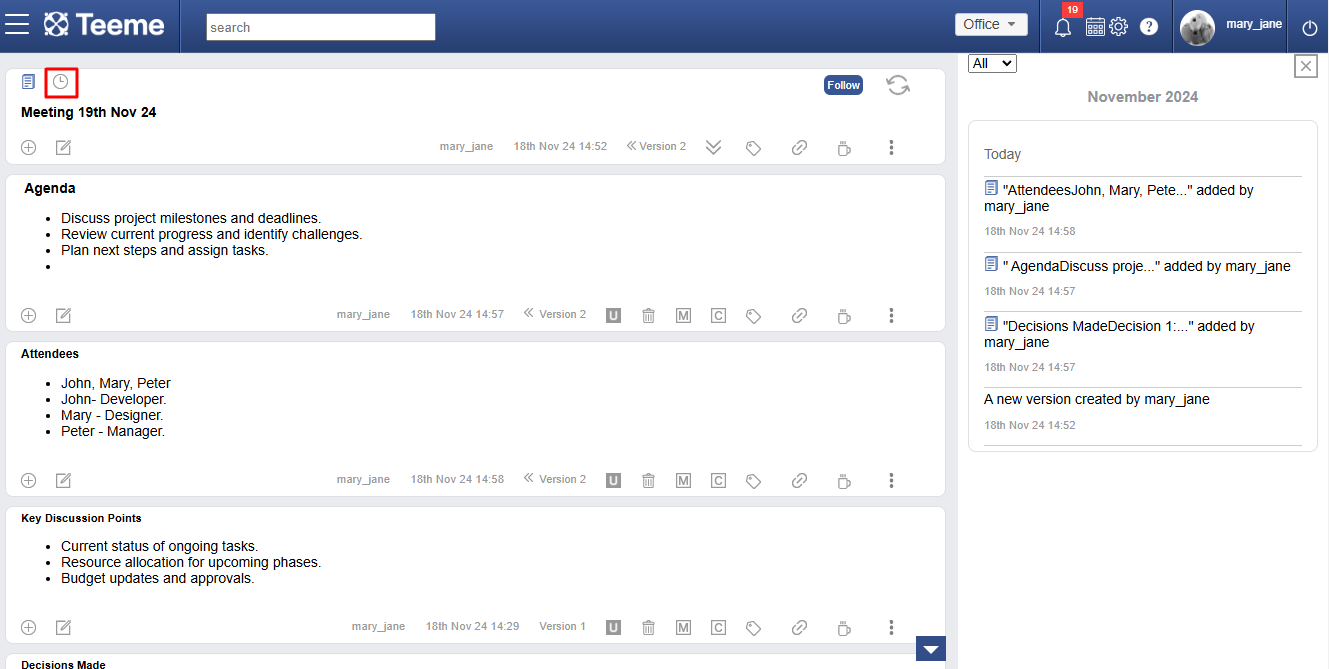
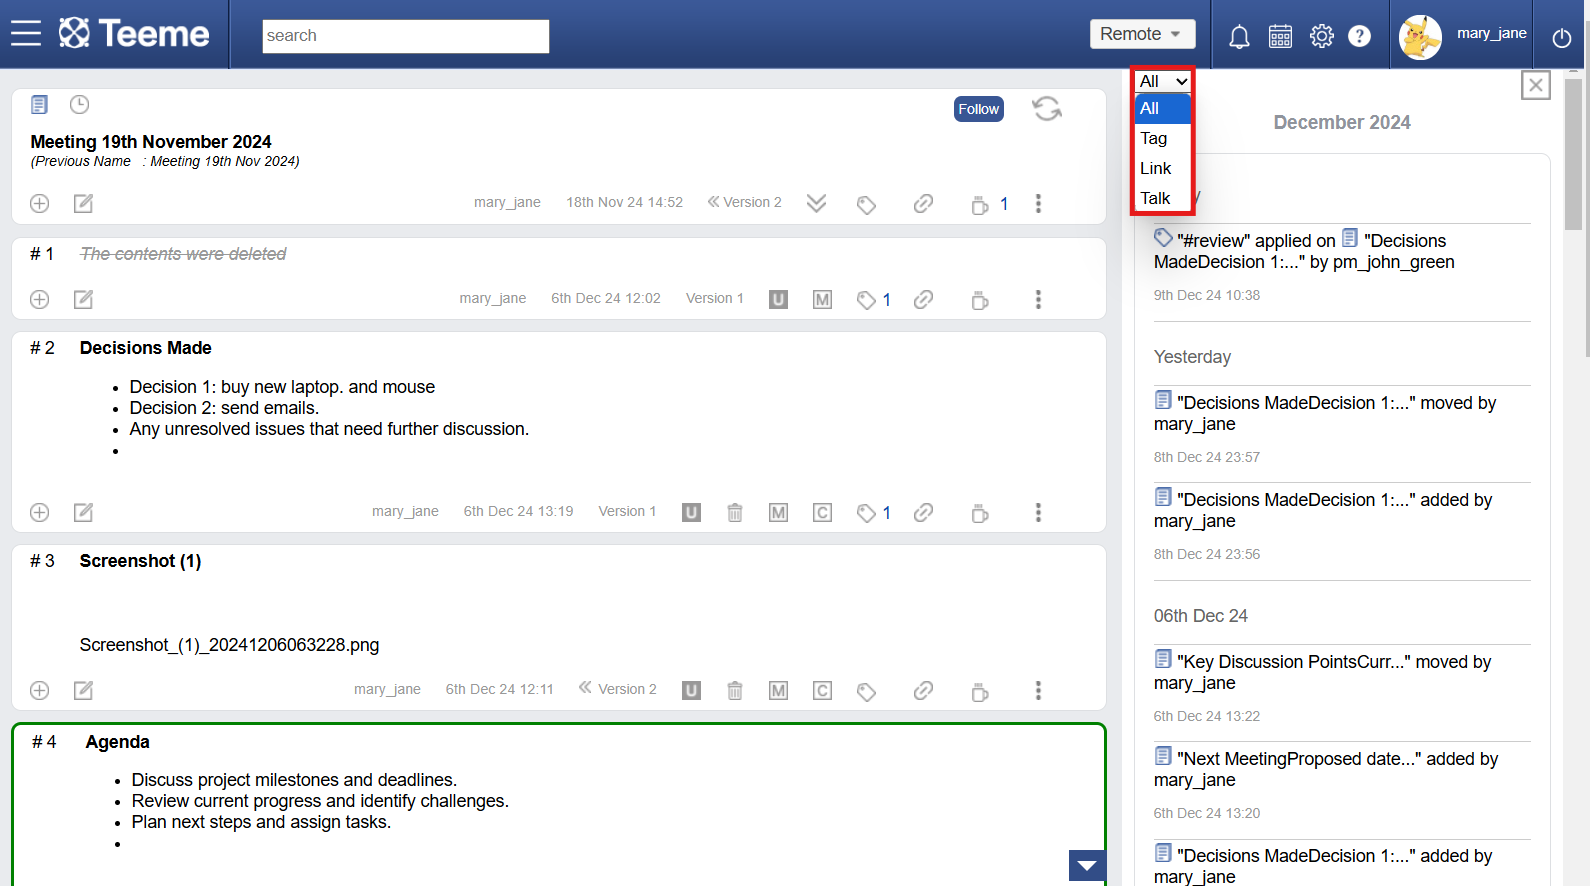
The timeline view shows the summary of events within a Document in a reverse-chronological order. This allows users to easily navigate to a piece of content in a timely manner which may otherwise take longer to get to. Timeline also has filters for user to filter specific information.
Sharing a document
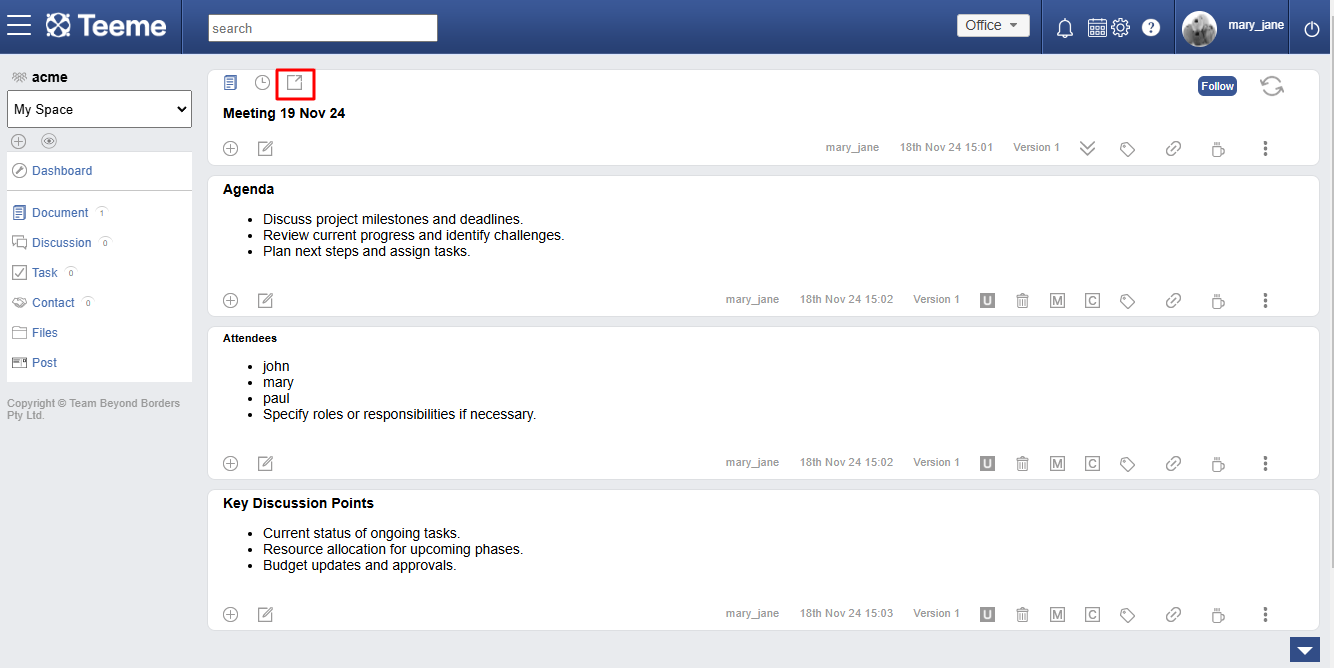
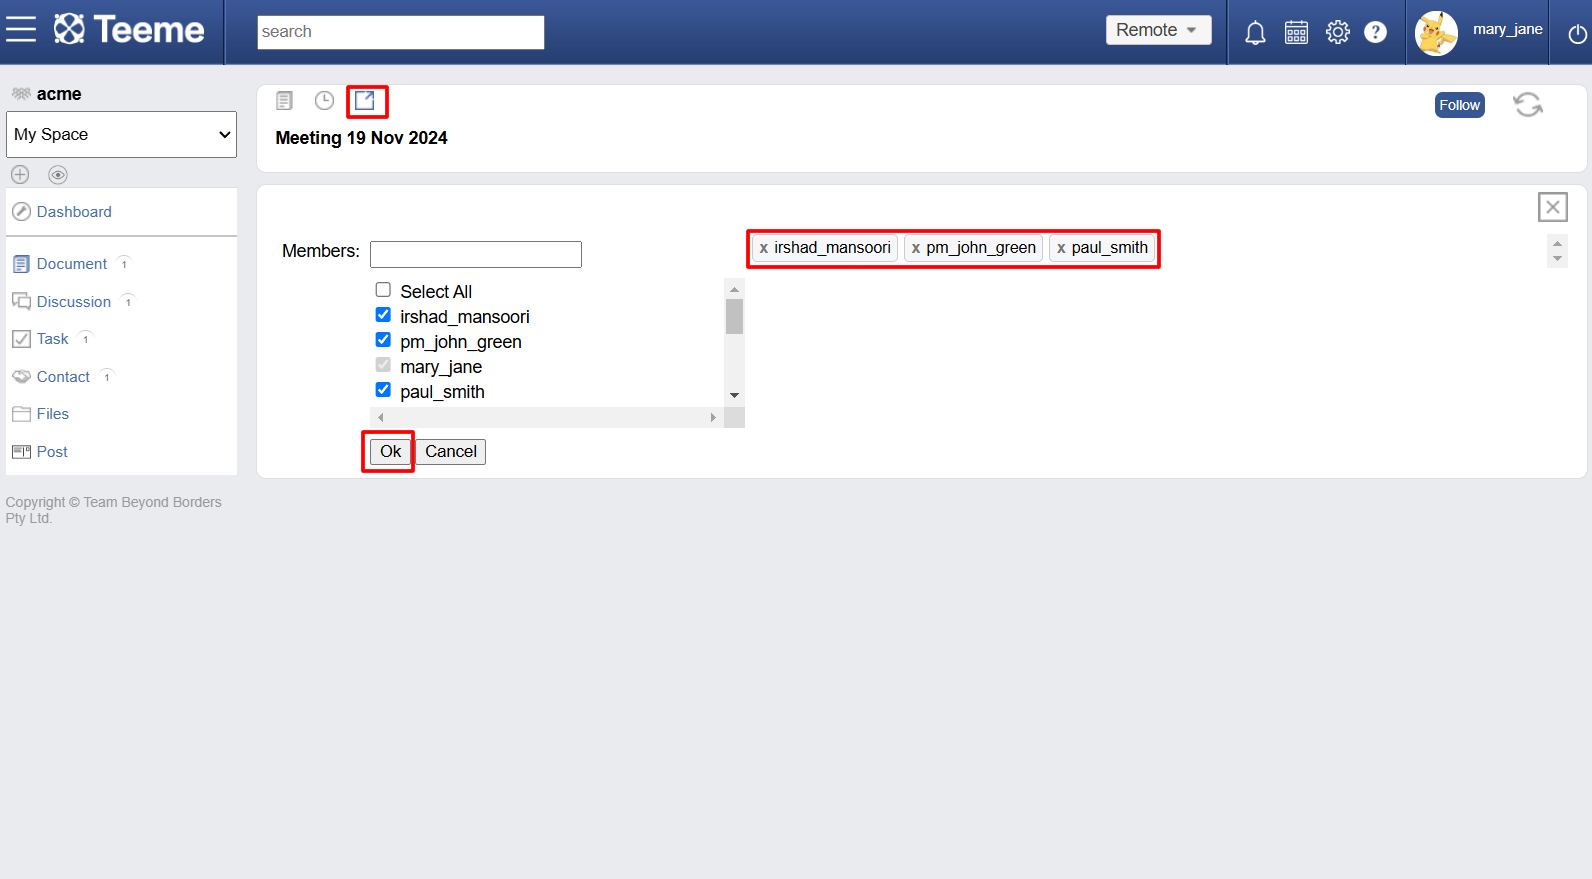
In My Space, the Documents created have an additional tab - called Share tab. The creator of the Document can share the Document with other users in Place, And shared Document in visible to the shared users in their respective My Space.
Following a document
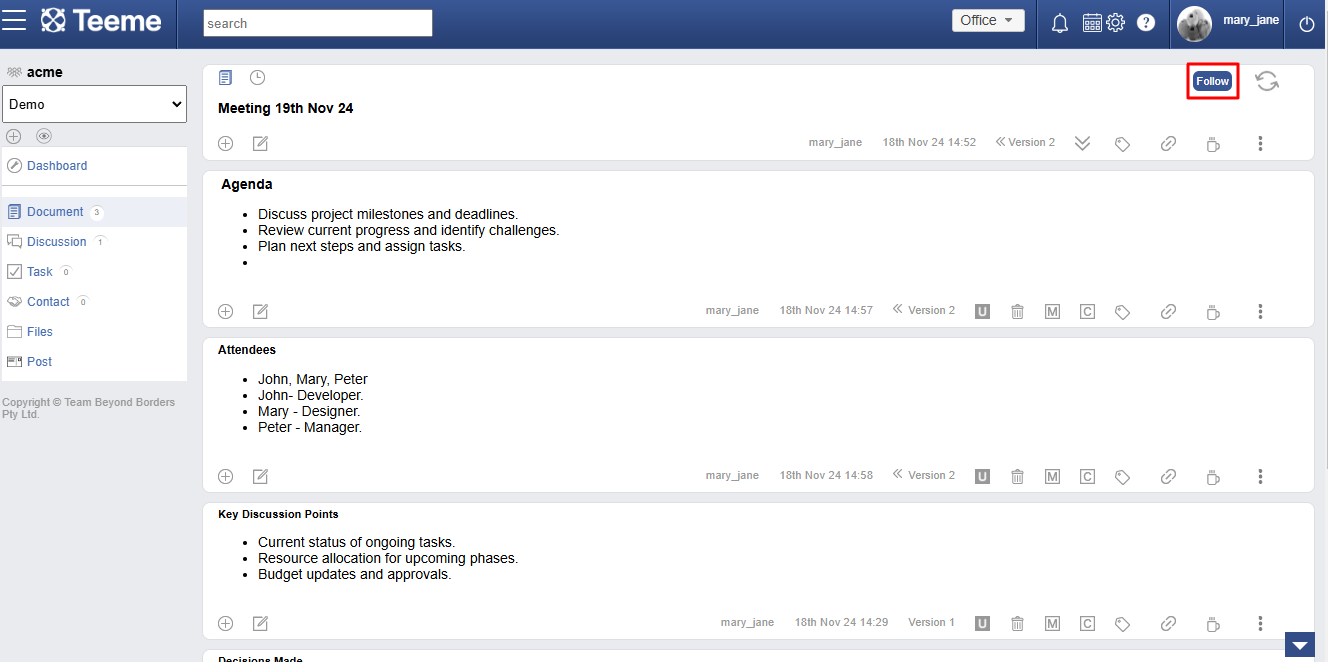
Use Follow to stay updated on a document. You’ll receive personalized updates about changes, comments, and activity, so you never miss what's important.
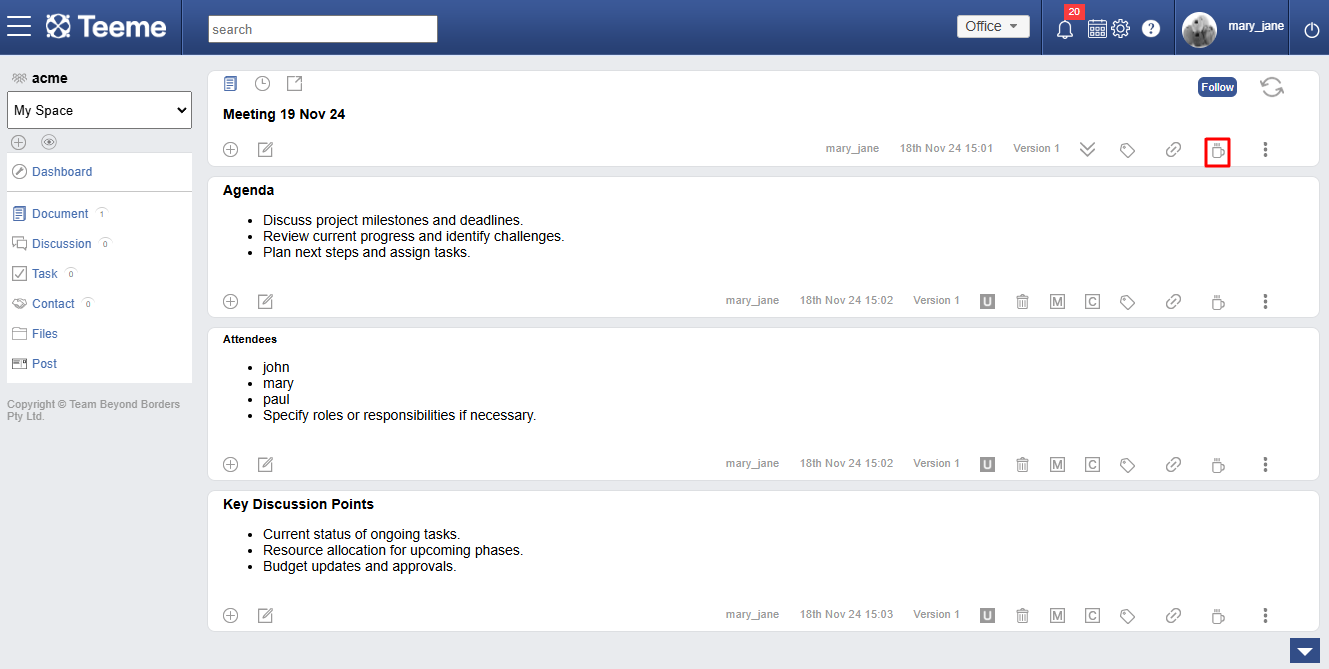
Syncing a document
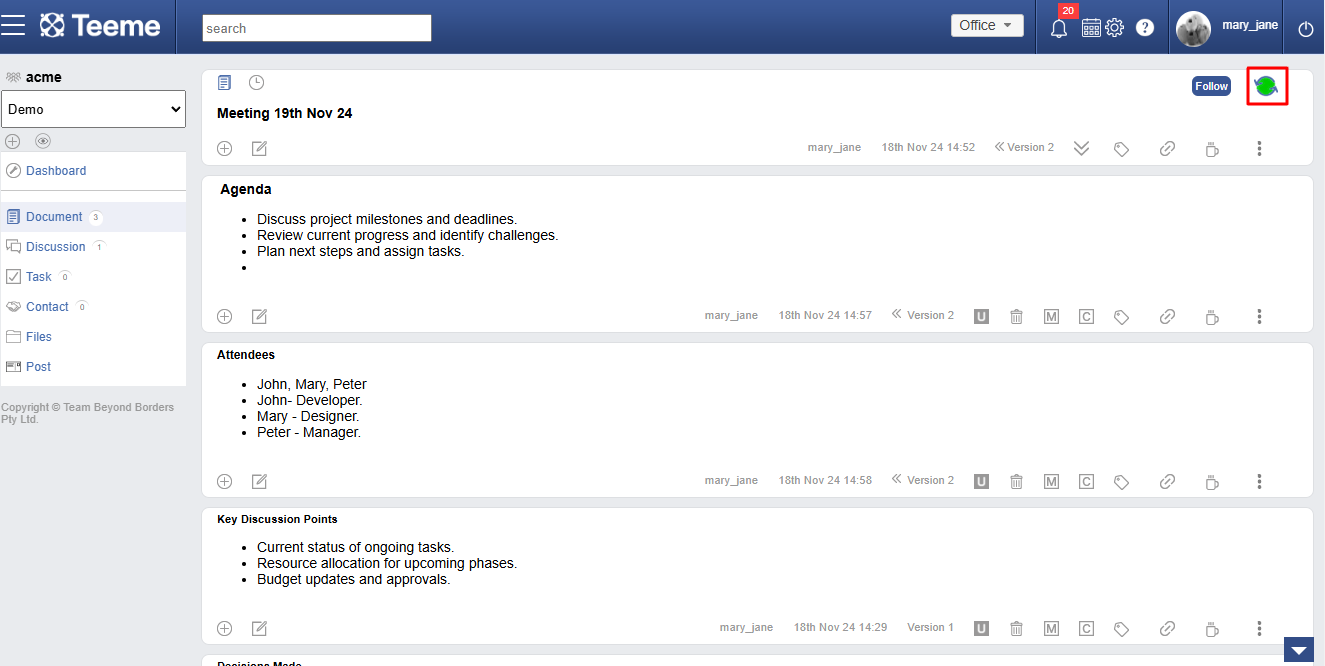
When multiple Editors work in a collabrative way on a document there are always new updates. Syncing allowes Editors to stay updated with latest changes, Green sync represents that there are new changes within the document.
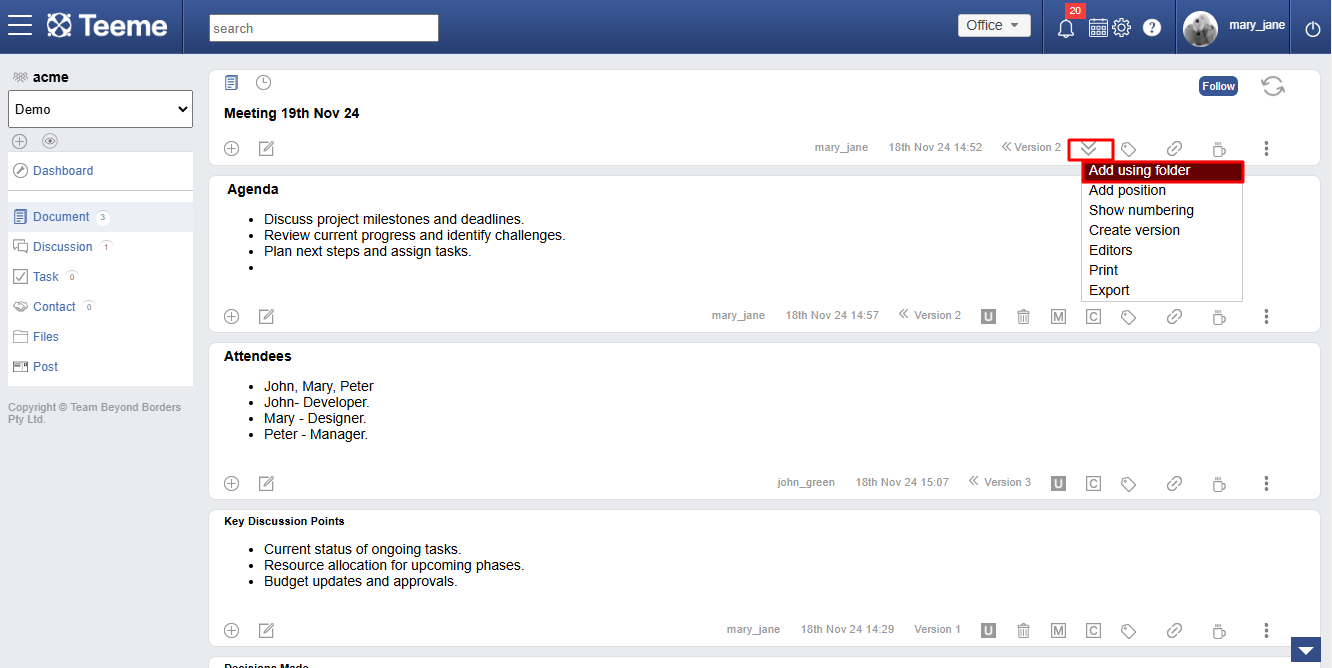
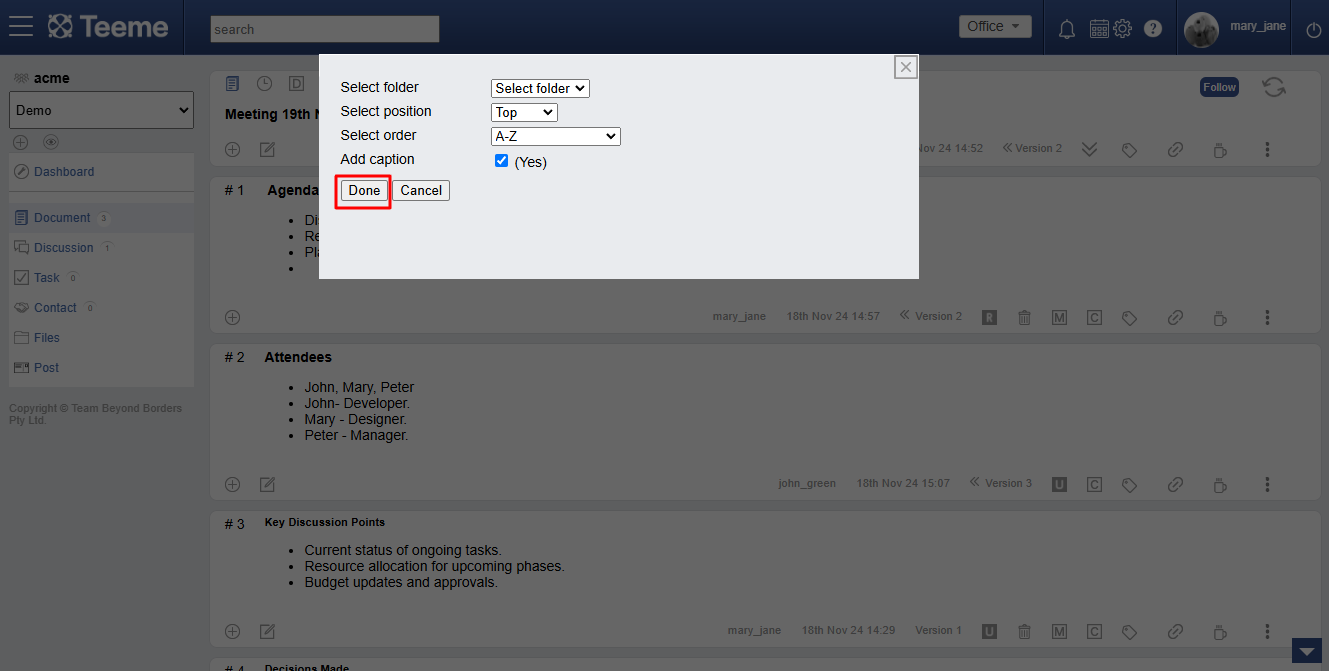
Add section using folder
To add document sections from pre-existing folders in the 'Files' app. Each file from the selected folder gets added as a new section in Document. User can choose which Folder within the space, position, order and caption for the sections to be added.
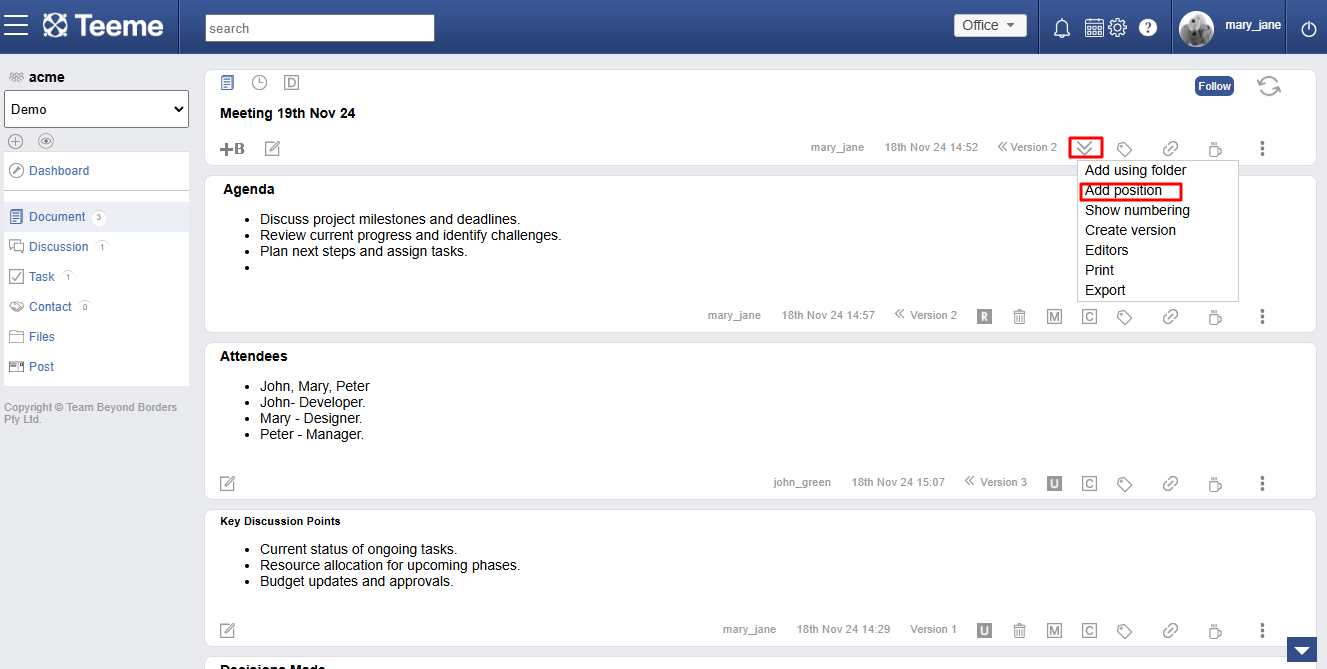
Add sections using positions
Editors have options to add sections from the given positions. The positions are- Anywhere, top or bottom. Based on the position selected, new sections will be added accordingly in the document.


Show hide numbering
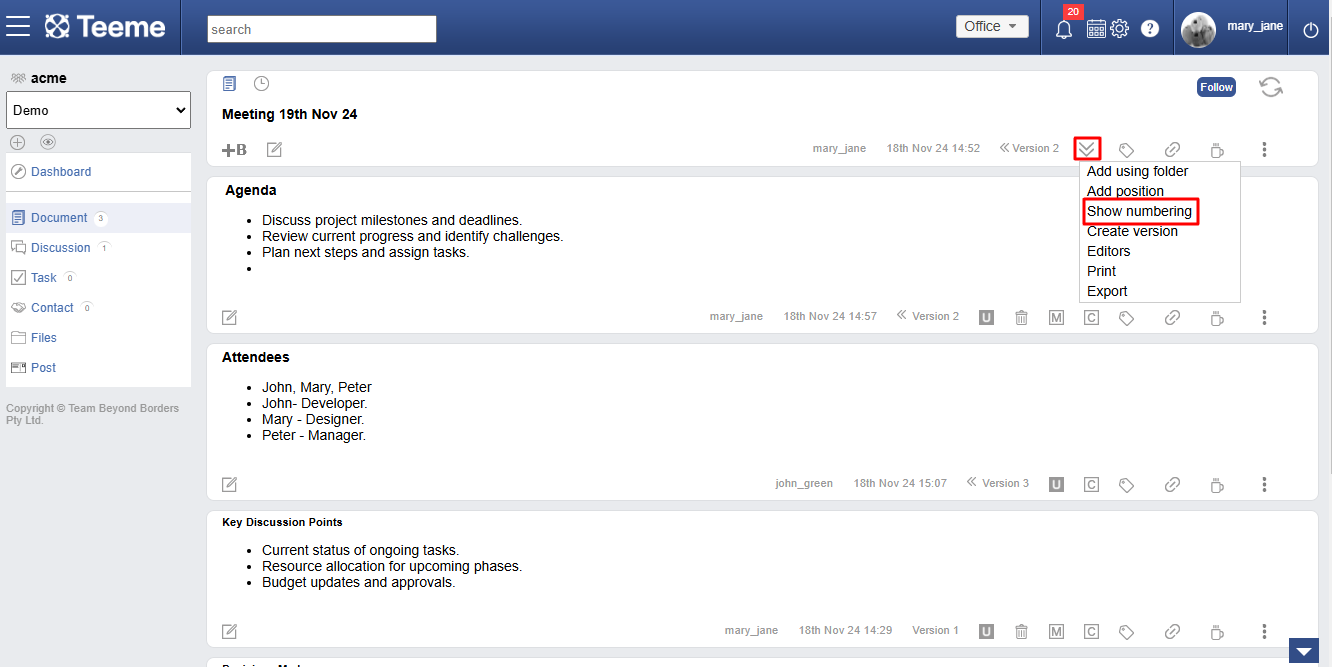
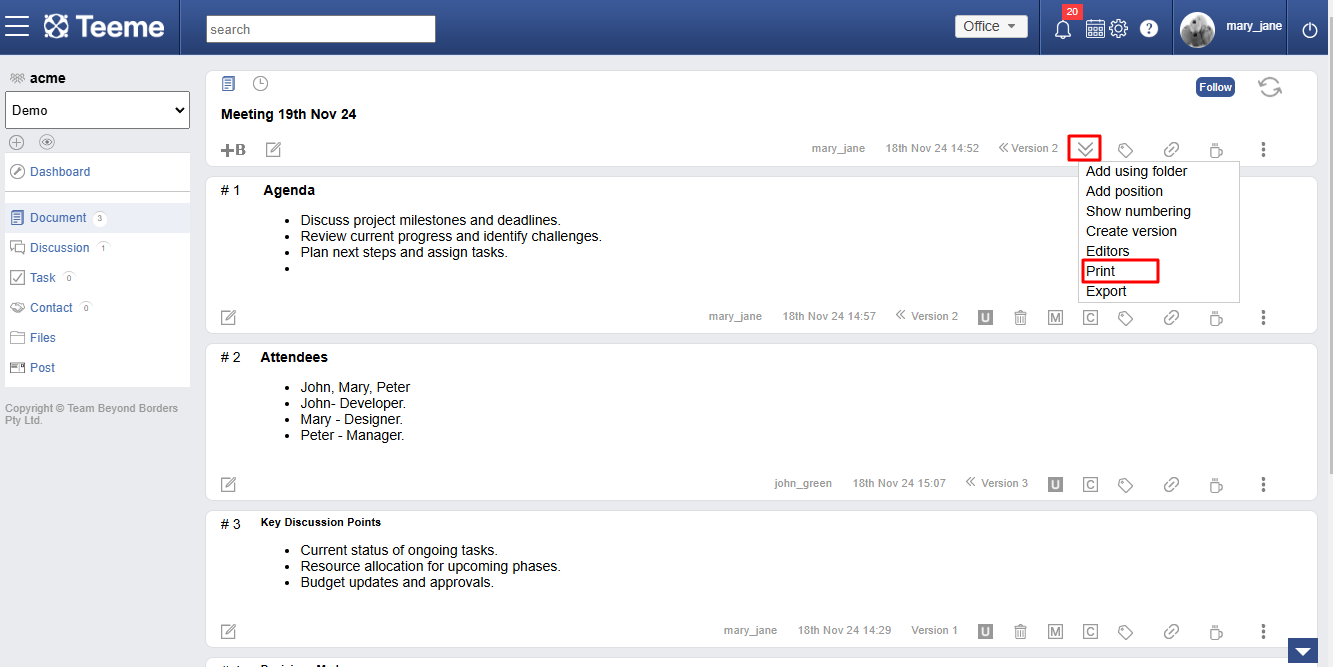
Each section can have a number allocated to it, when show numbering is enabled. It helps editor to uniquely identify sections.

Managing list of editors
Editors are the authorized users who have access to add/edit section in a document, intially when document was created the document creator would have choosen editors, these editors can always be added or removed later. Once removed user can still contribute to document using Tag/Link/Talk.


Printing a document
To print a document.
Exporting a document
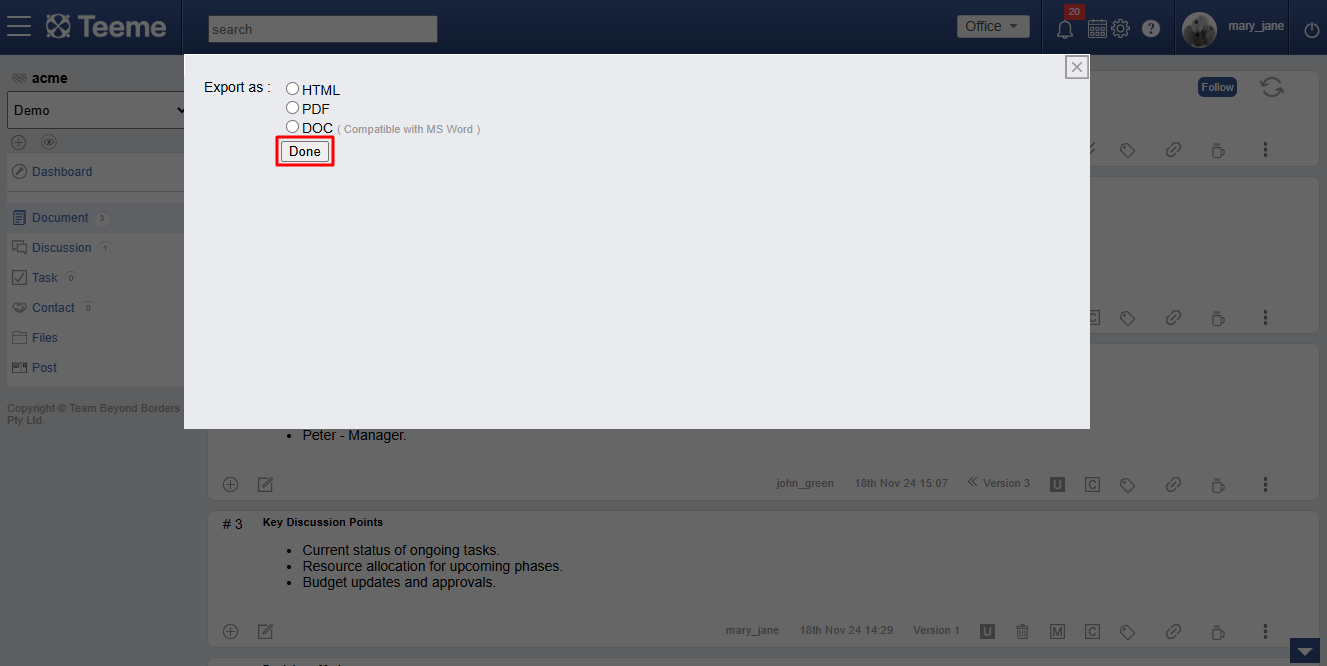
The document can be exported in either of these formats- HTML, PDF or DOC.

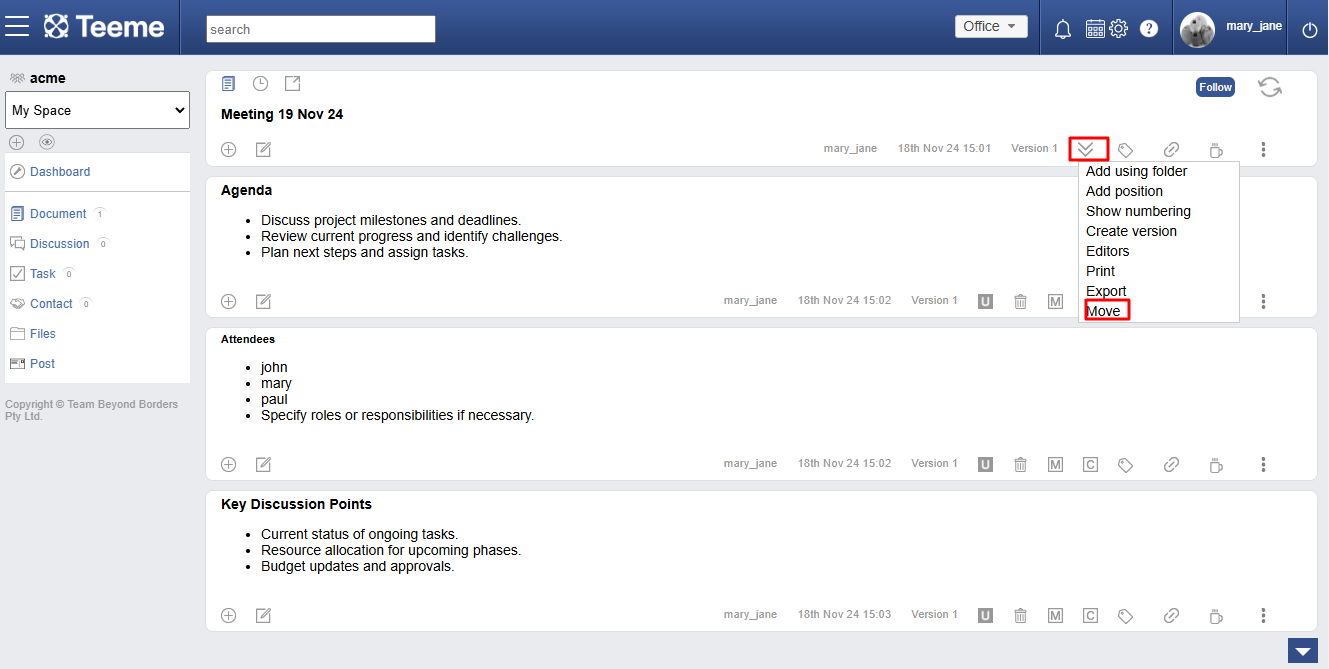
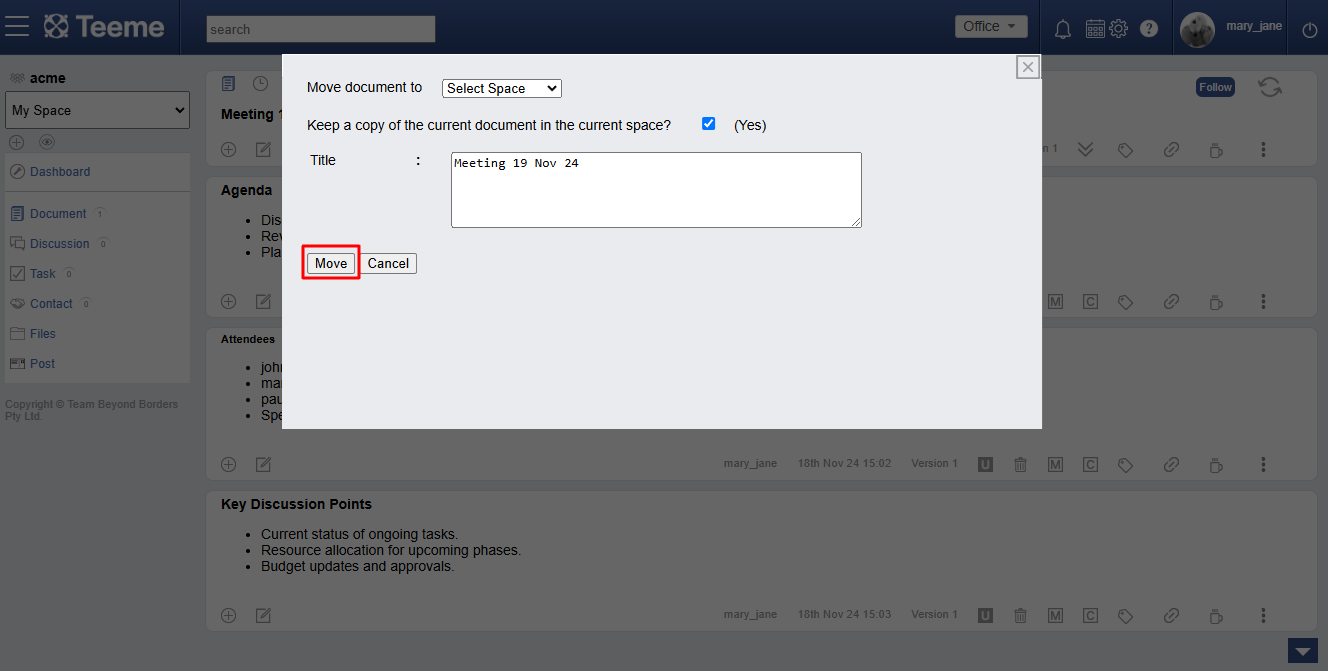
Moving a document
A document can be moved from its existing space to another. The space manager of the space has rights to move document, they have the option to completely move the document or keep copy in current space and edit the title for the document.
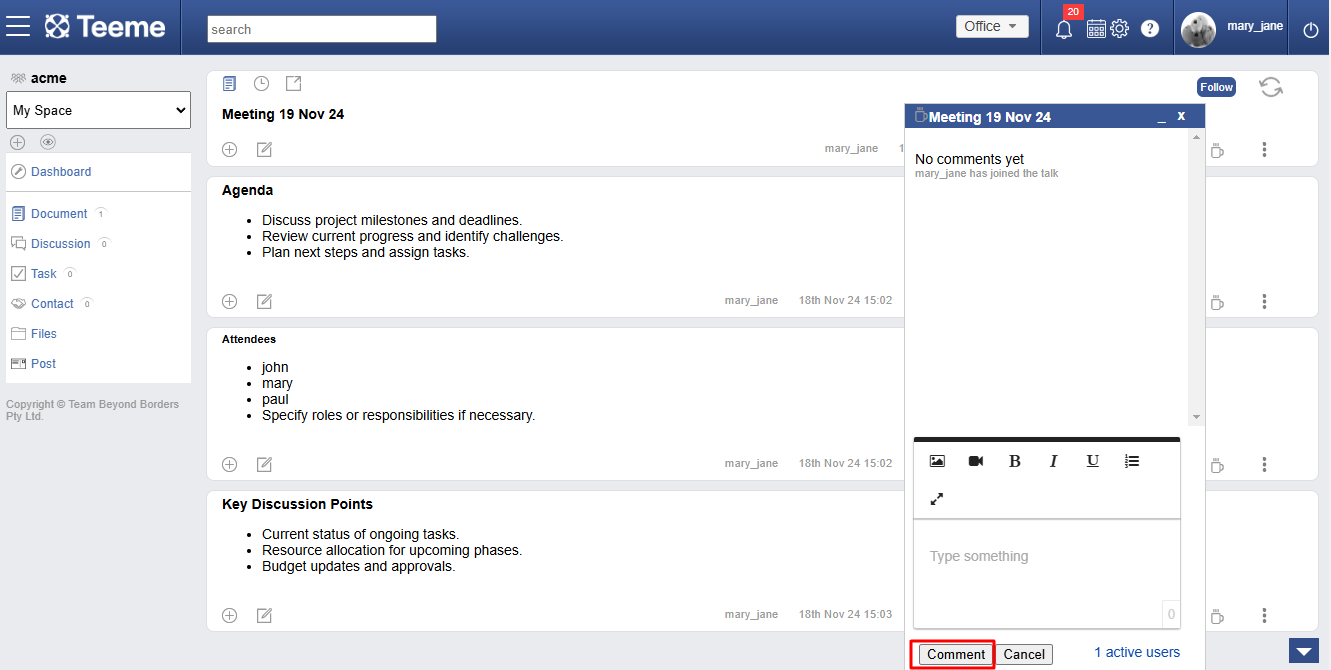
Talking on document section
The talk tool captures all team conversations as comments for the section. The context of the section provides the topic for the talk. It can be used asynchronously or in real-time. The active users list shows the amount of users active in a talk at the time.
Tagging on document section
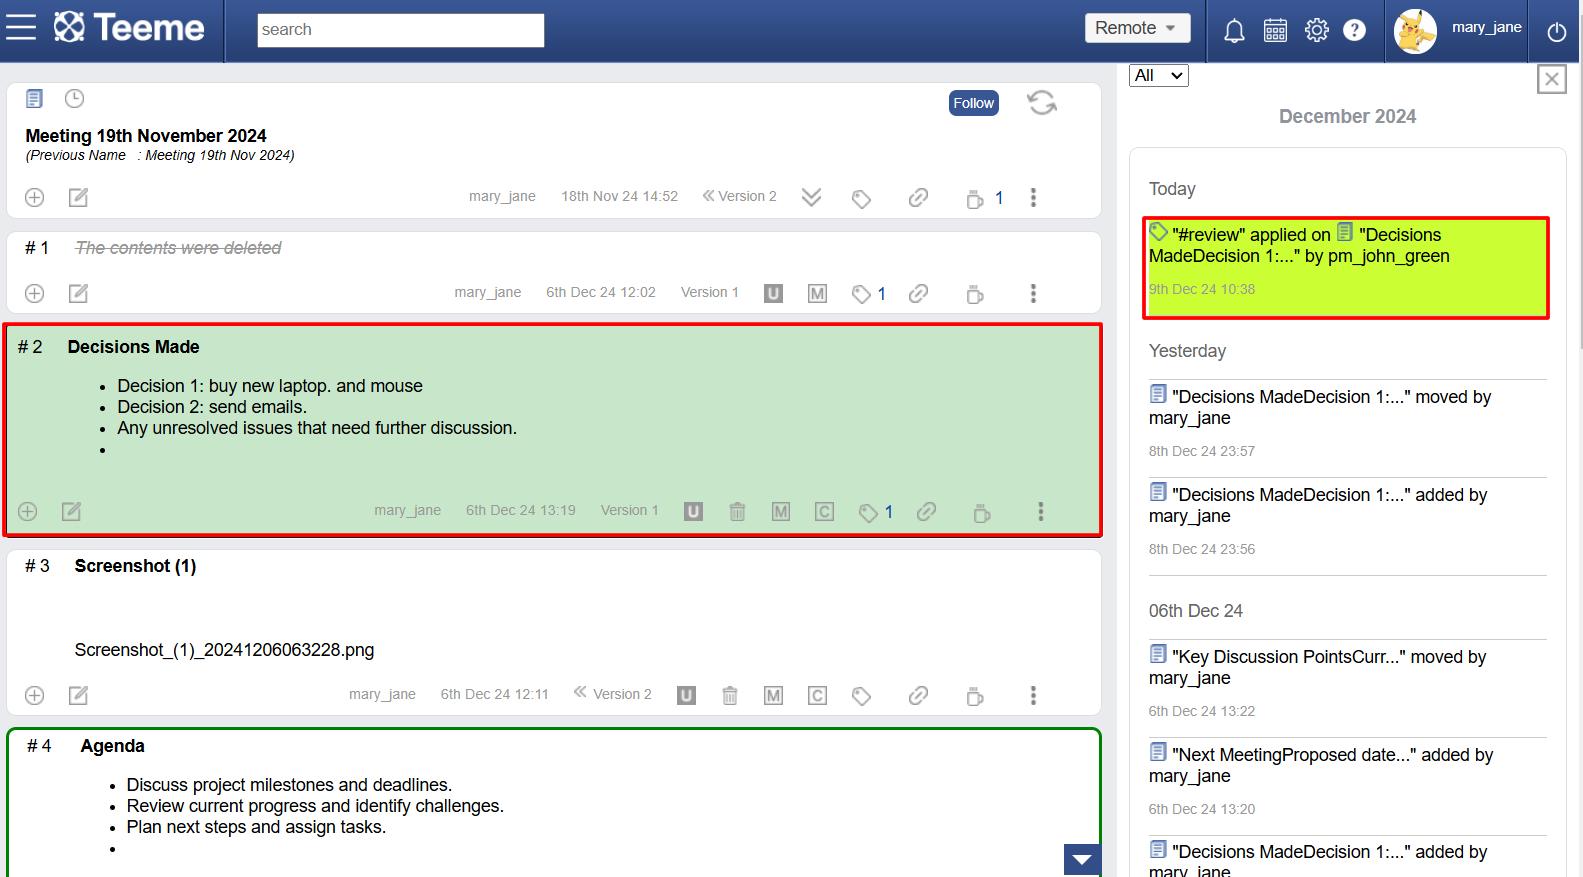
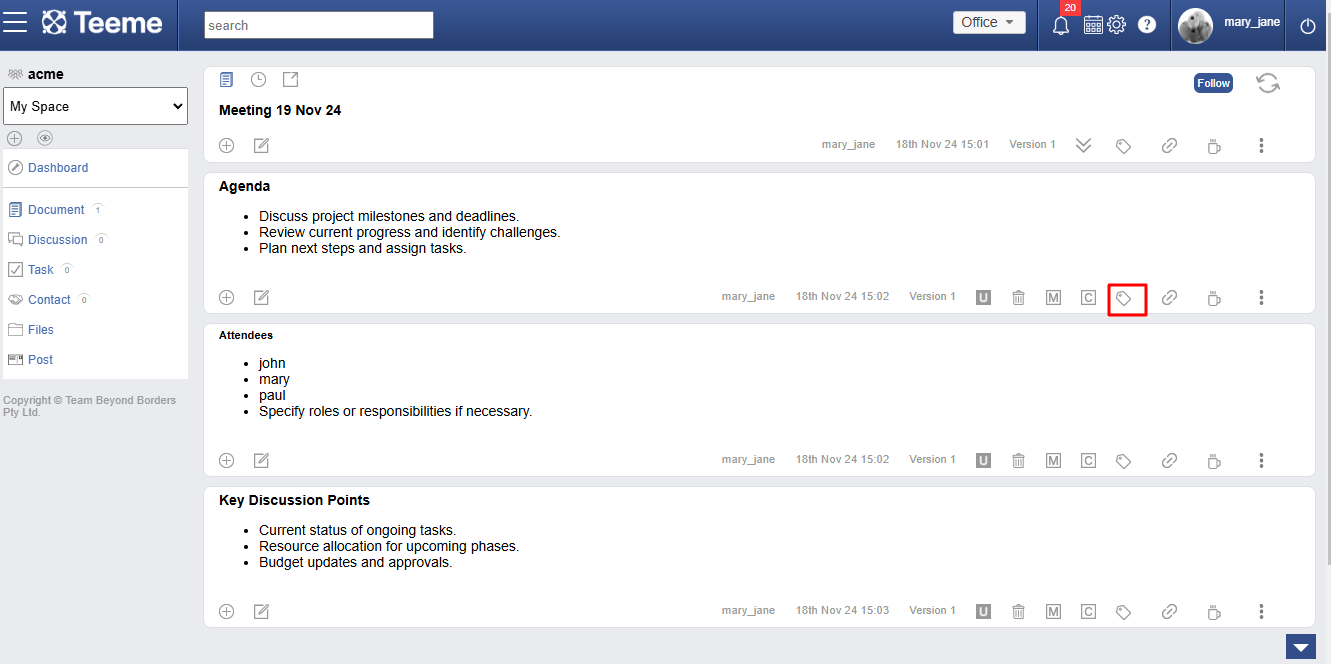
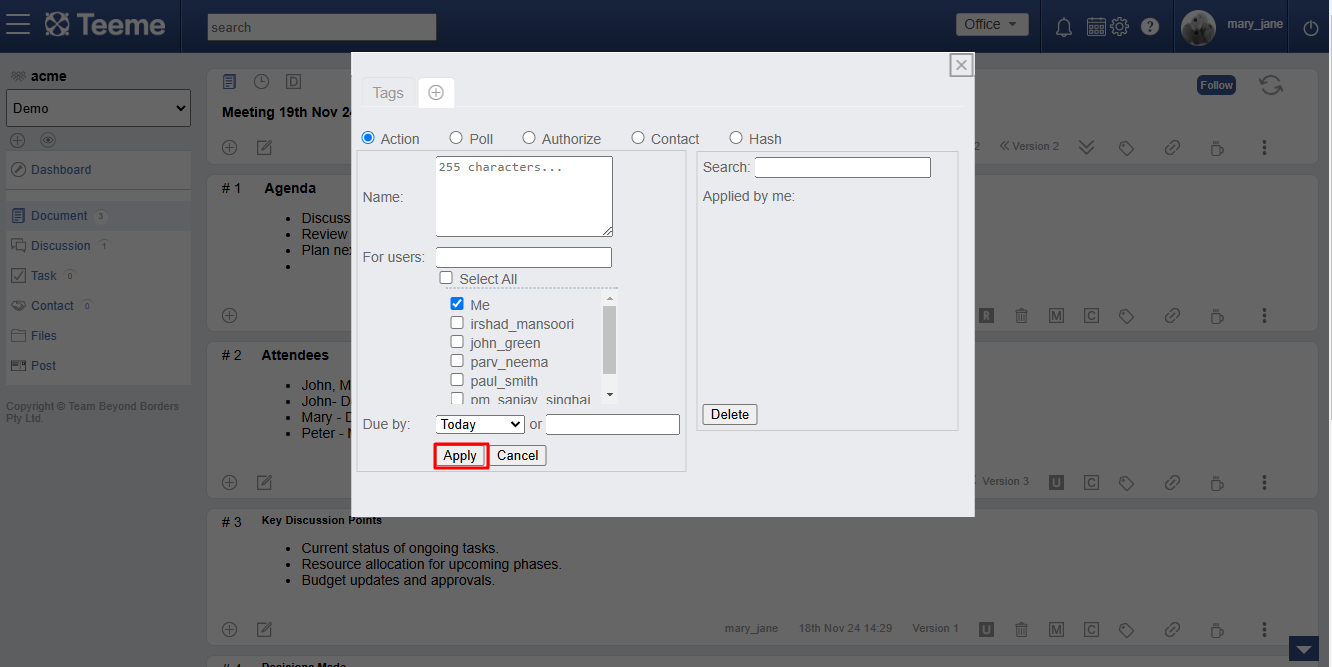
Tagging lets you organize, highlight, and collaborate better by adding color labels, topics (#hashtags), actions for others, polls, authorization requests, or relevant contacts — all directly within the content.
Apply signature request
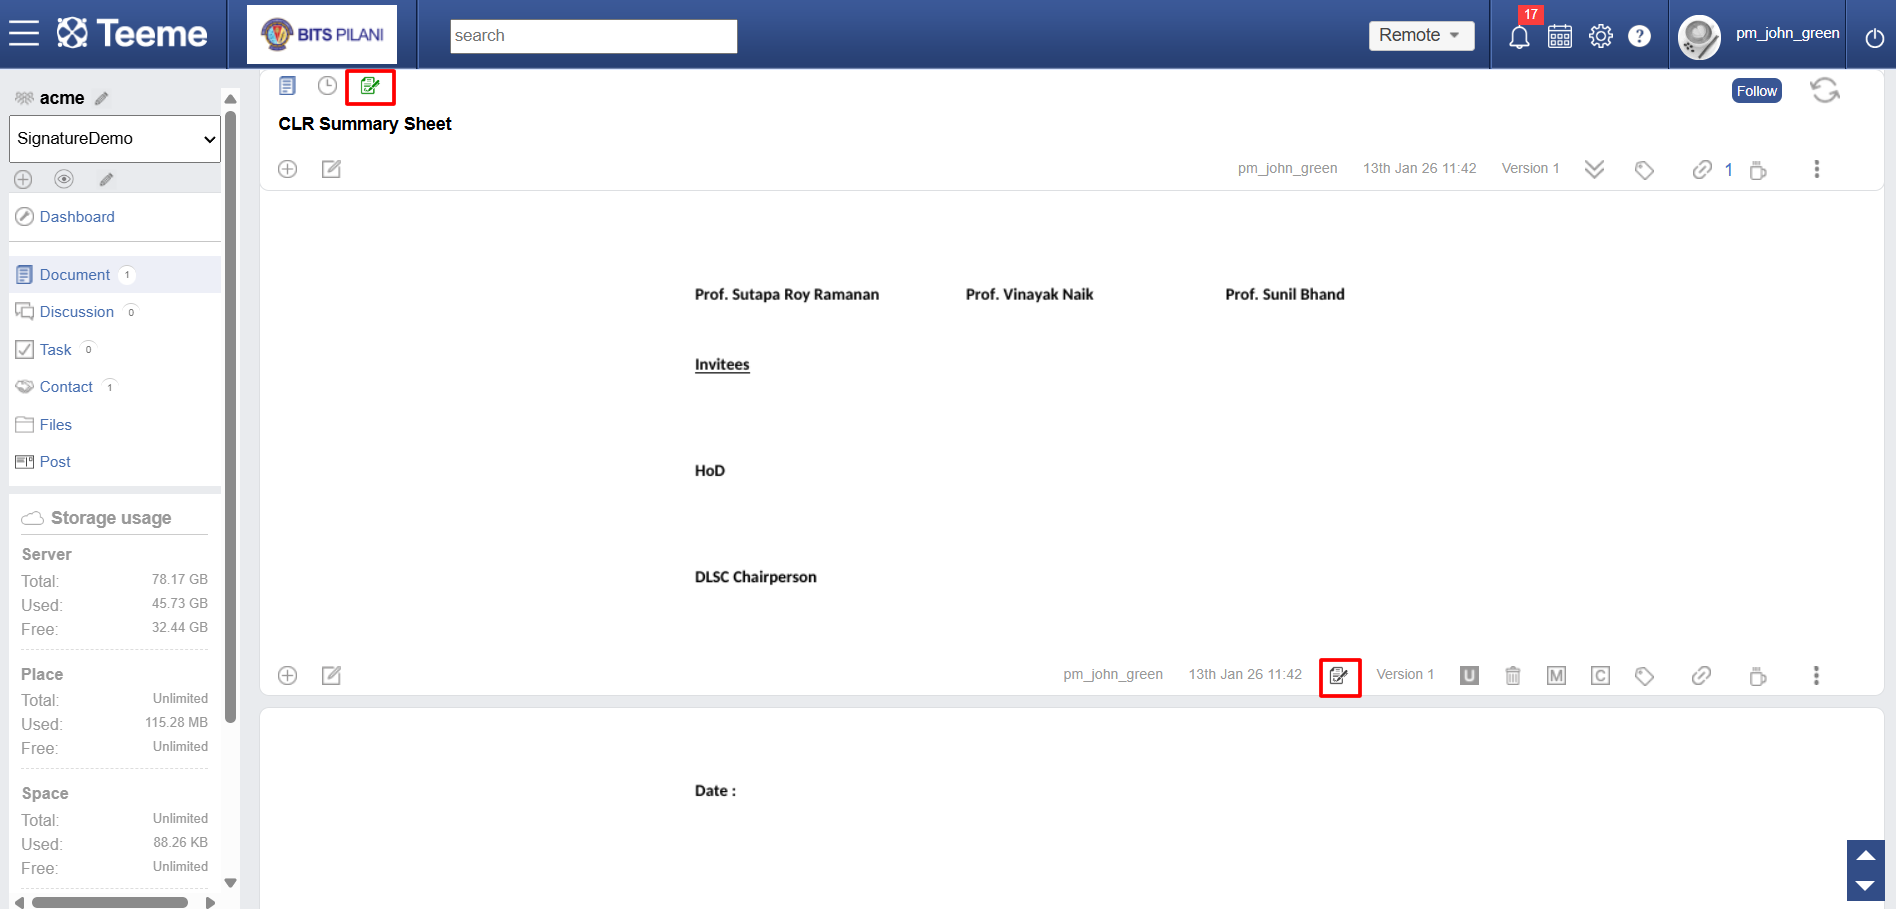
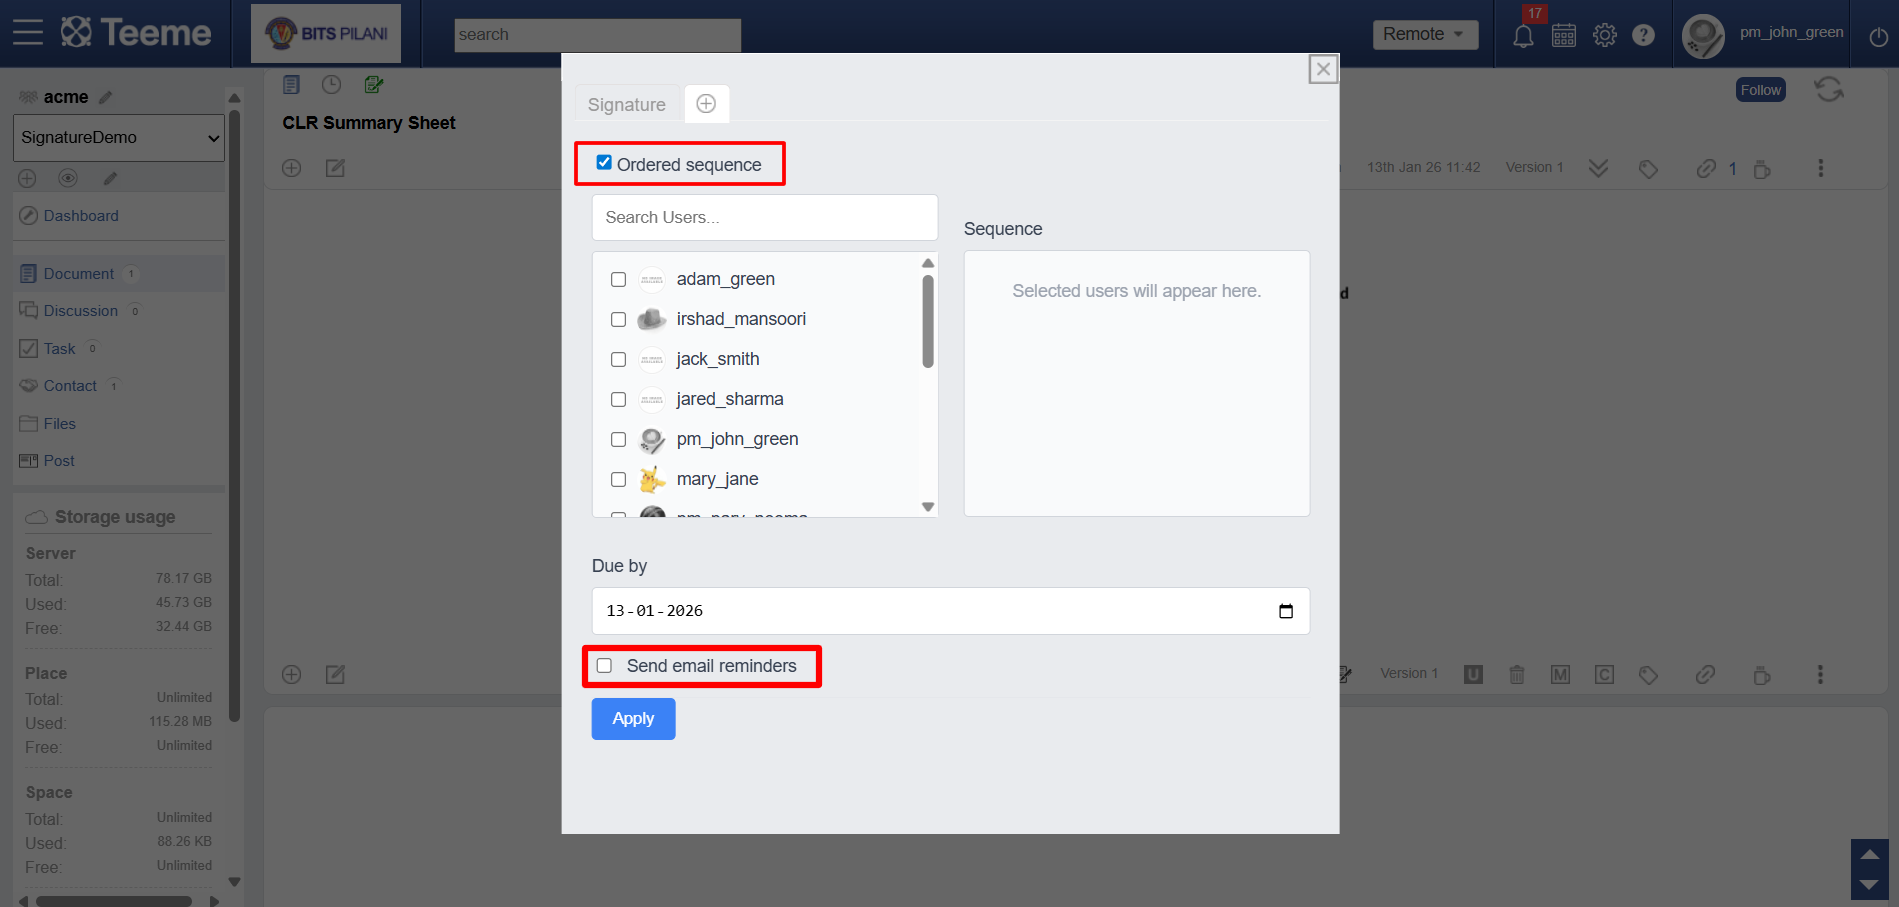
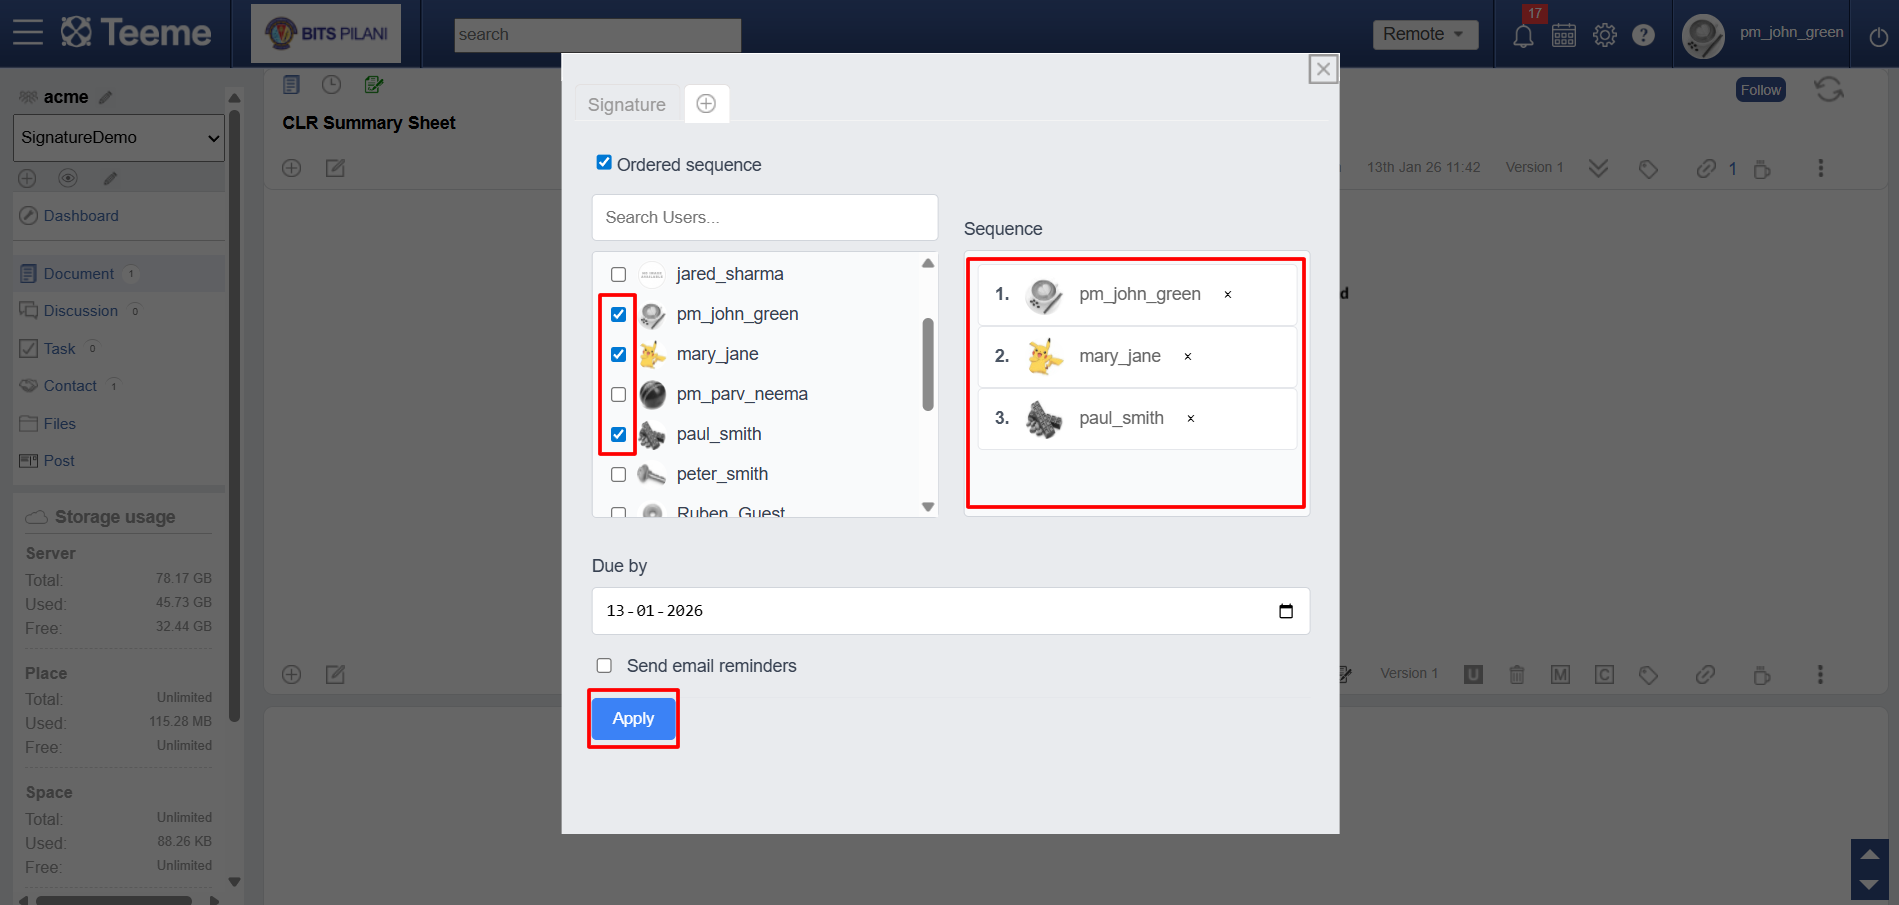
Adding Signature Requests To apply a signature request, click the Signature icon in the section footer next to the Tag and Link icons. Please note that only the document originator can initiate a request. Within the menu, you can add signers, arrange them in sequence, and set a due date. Click Apply to finalize the request for the section.
Edit signature request
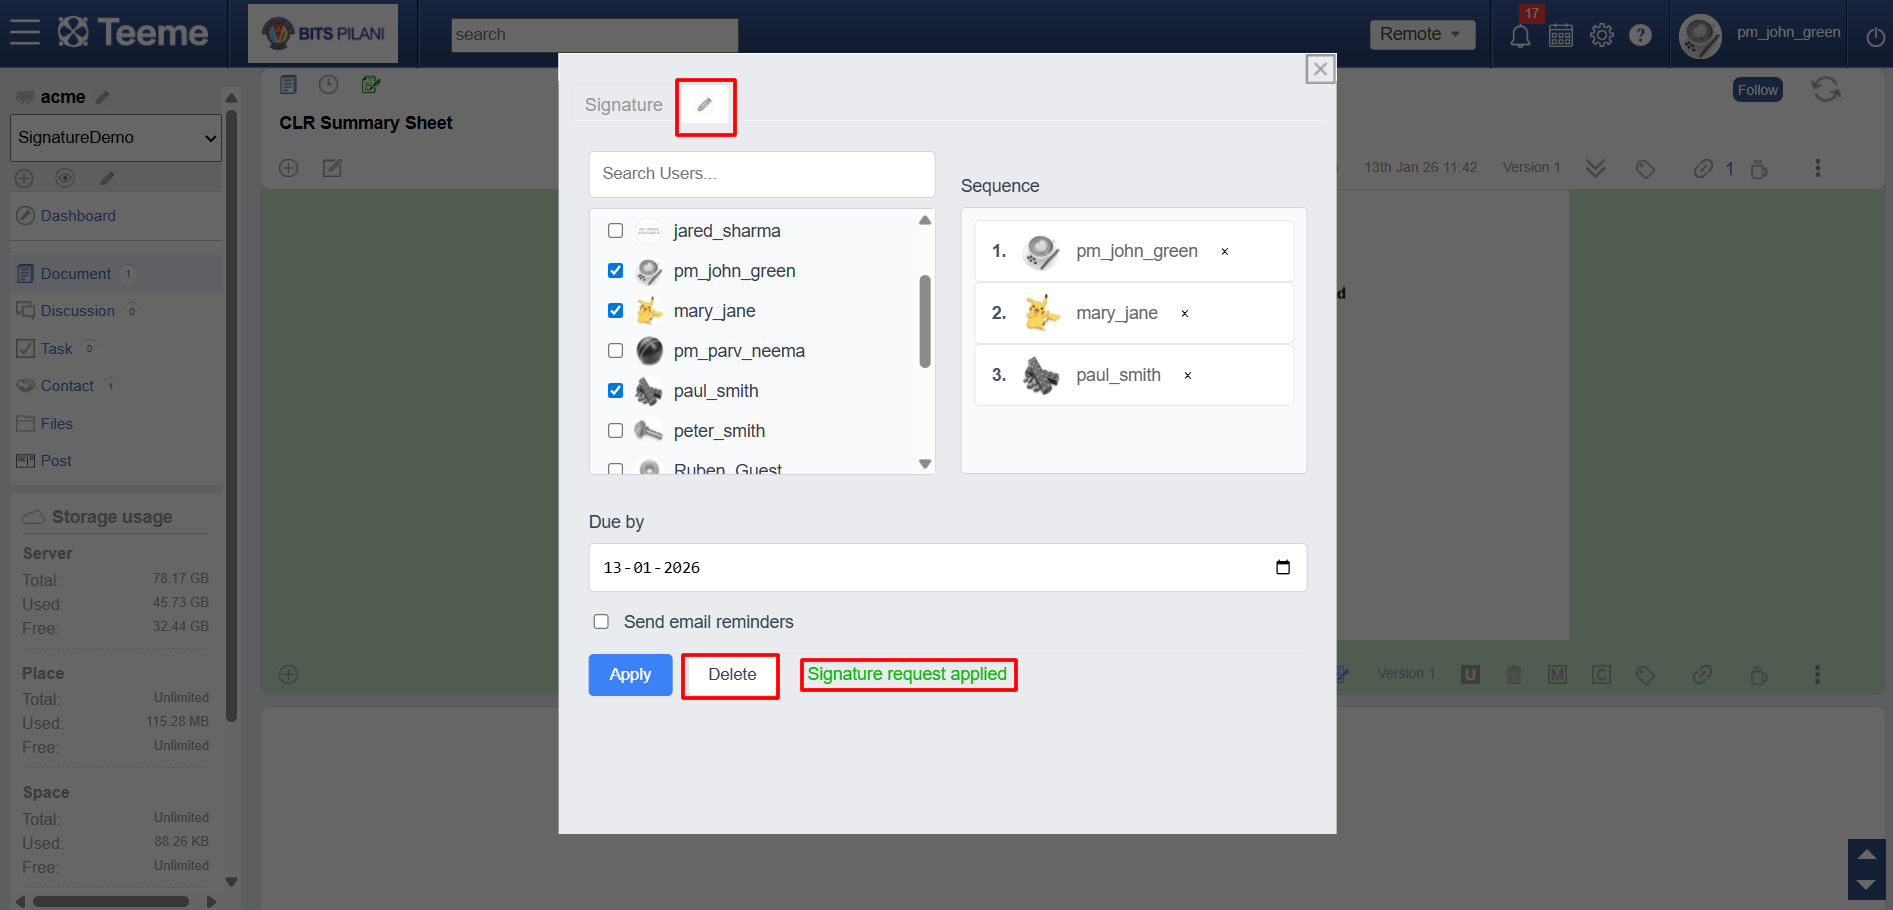
To modify an existing request, click the Signature icon in the section footer. In the popup that appears, select the Pencil (Edit) tab. From here, you can update the due date, add new signers, or rearrange the signing sequence. Once you have made your changes, click Apply to update the signature request.
Add response in signature request
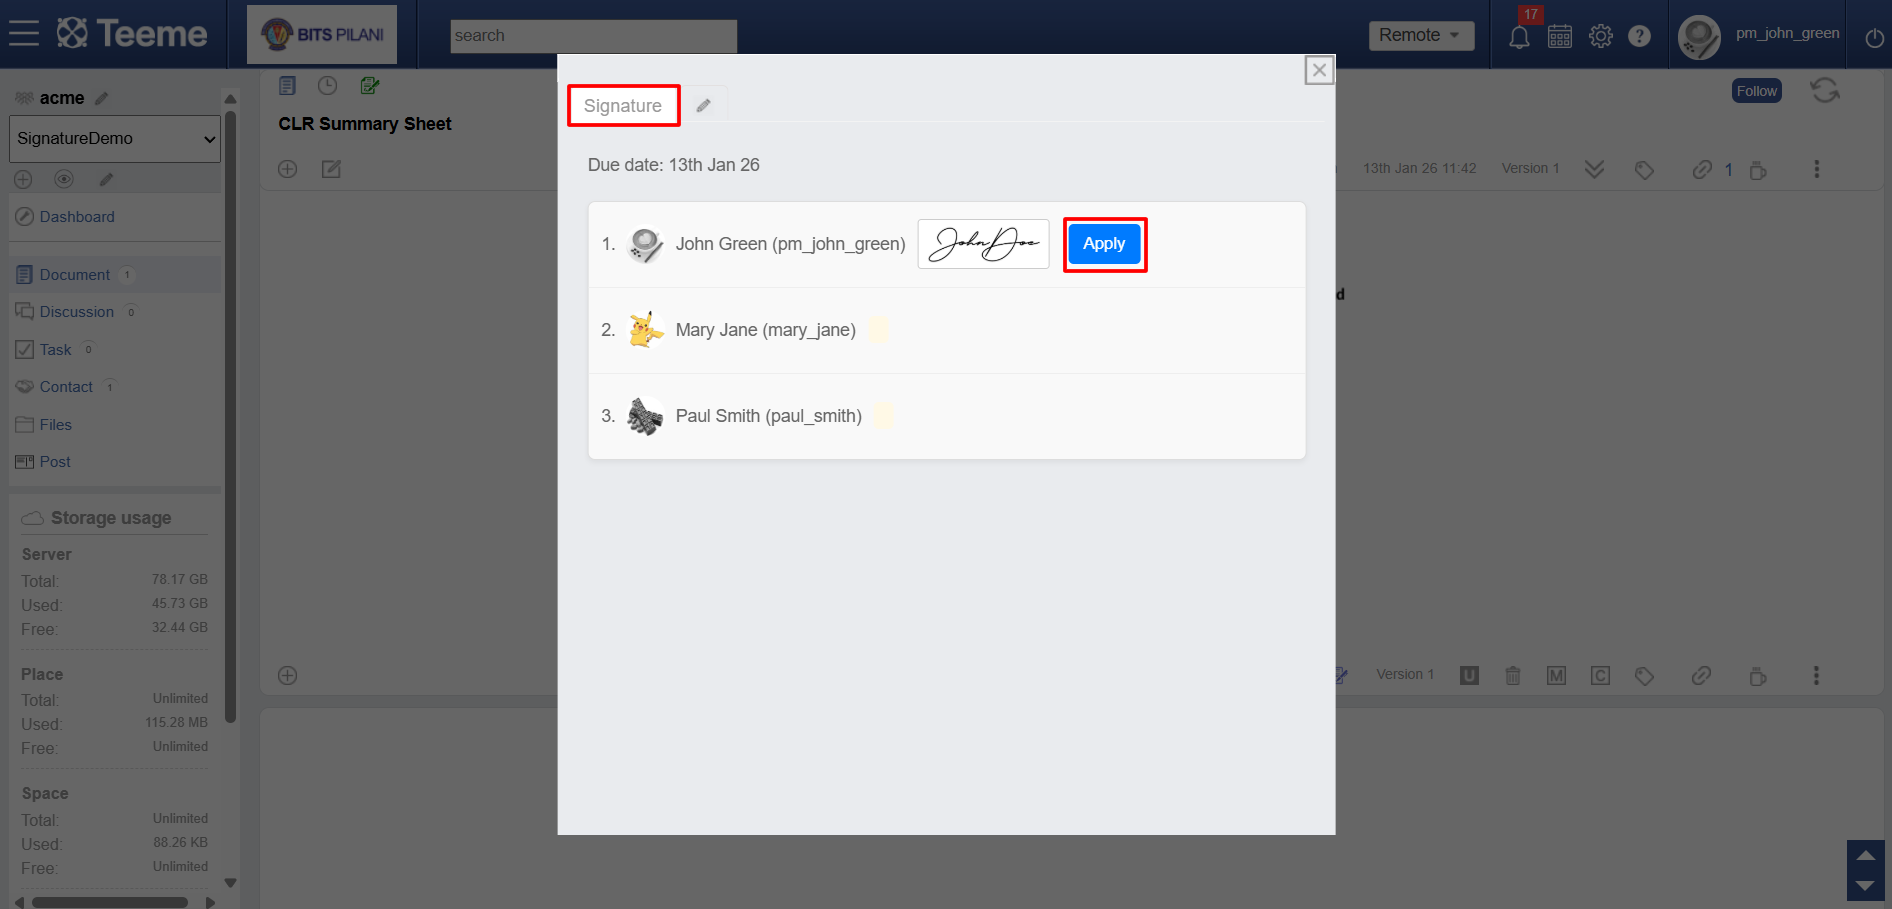
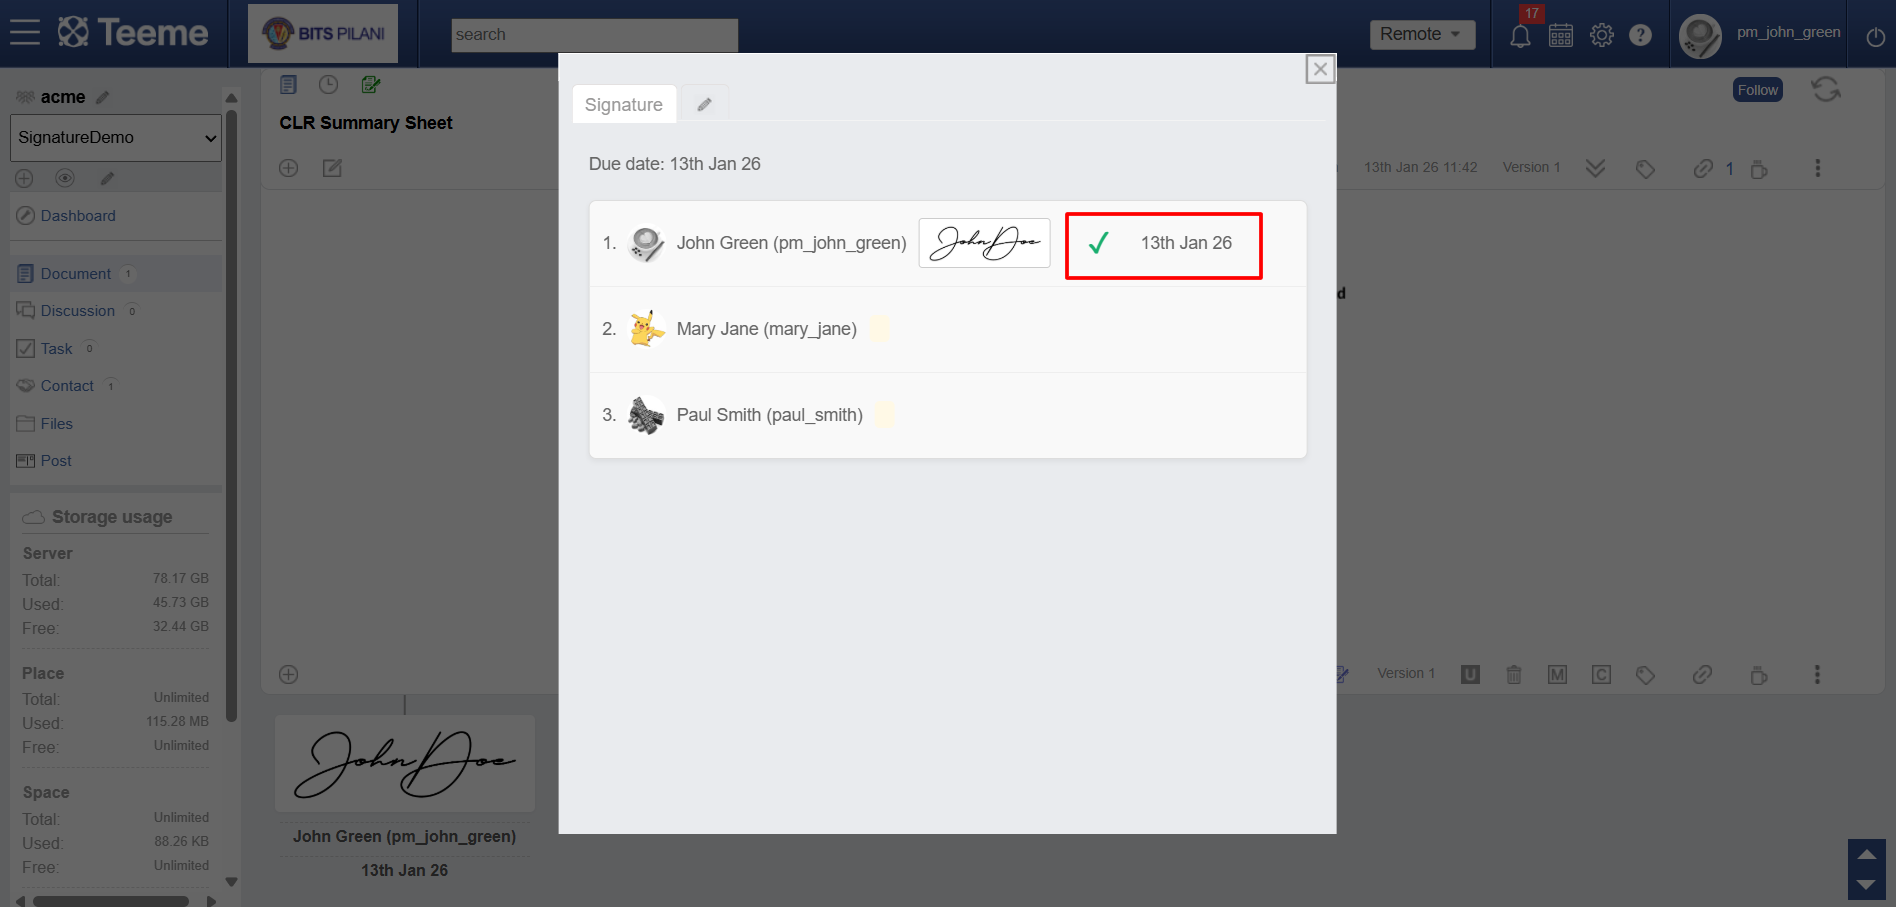
Once a signature request is applied to a section, assigned signers will see a Signature icon. Clicking this icon opens a popup where you will find your name, your signature image, and an Apply button. If the request is sequenced, you will only be able to sign when it is your turn; the system will require all previous signers to finish before you can proceed. If the request is not sequenced, you may sign at any time. After clicking Apply, your signature is recorded, and a tick mark alongside the signing date will appear to confirm your response.
Edit signature
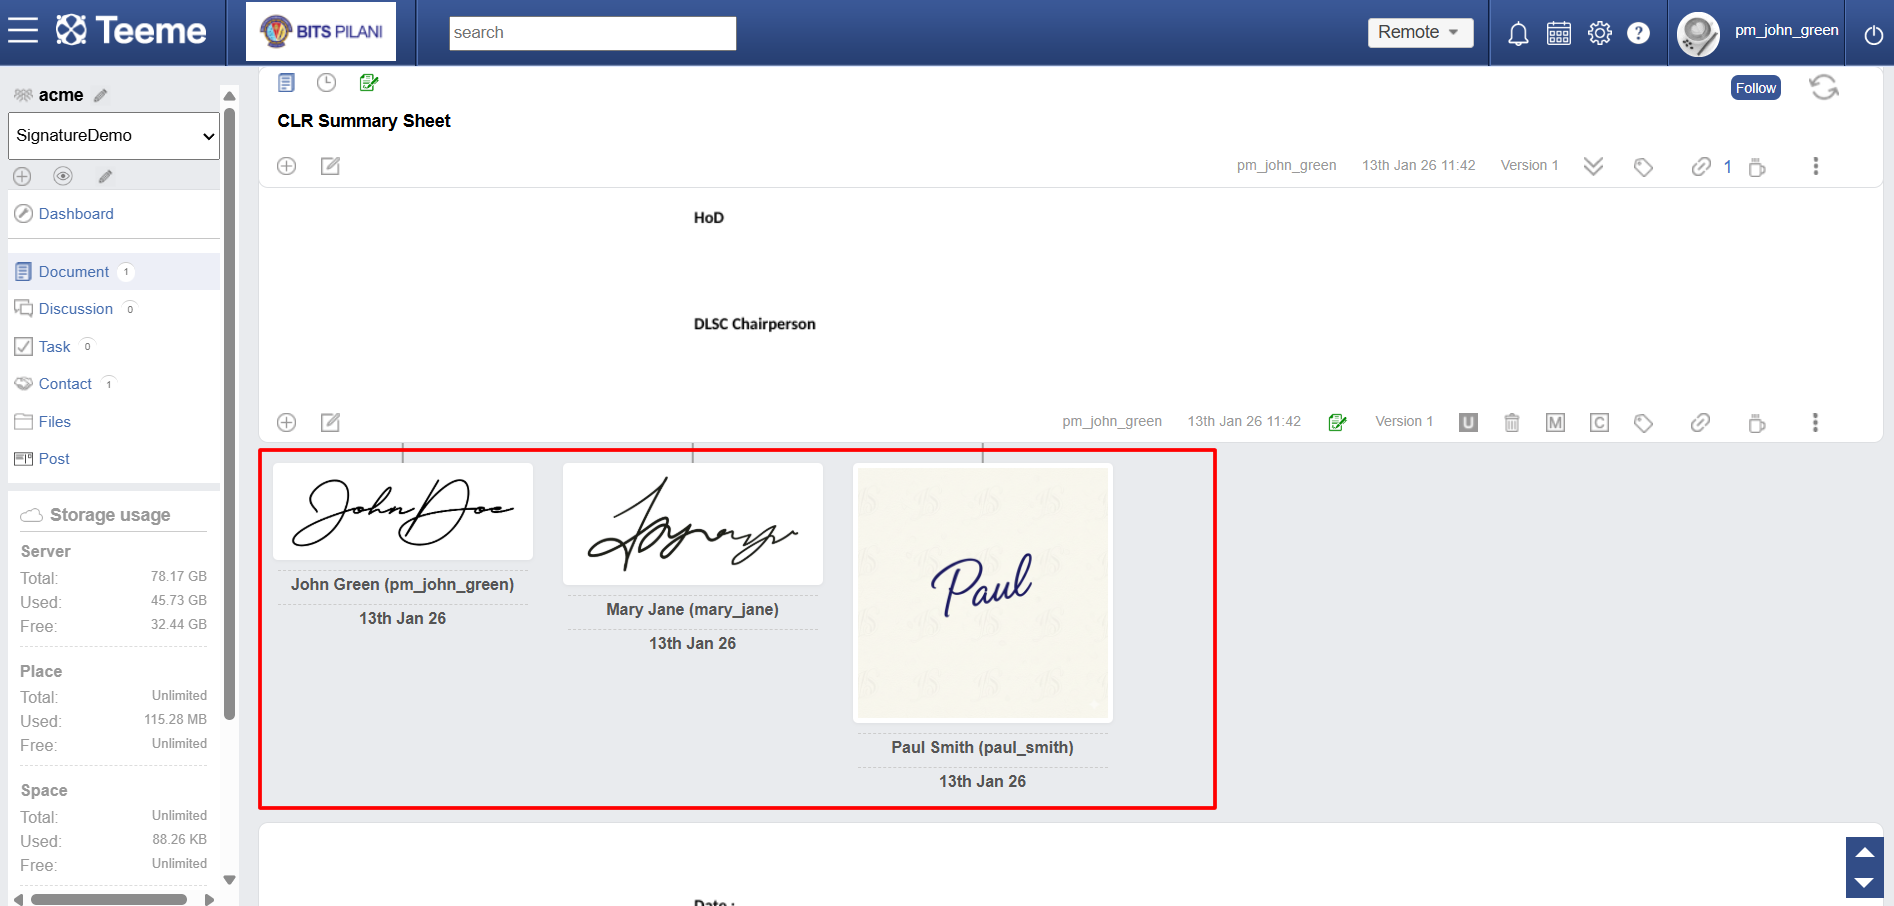
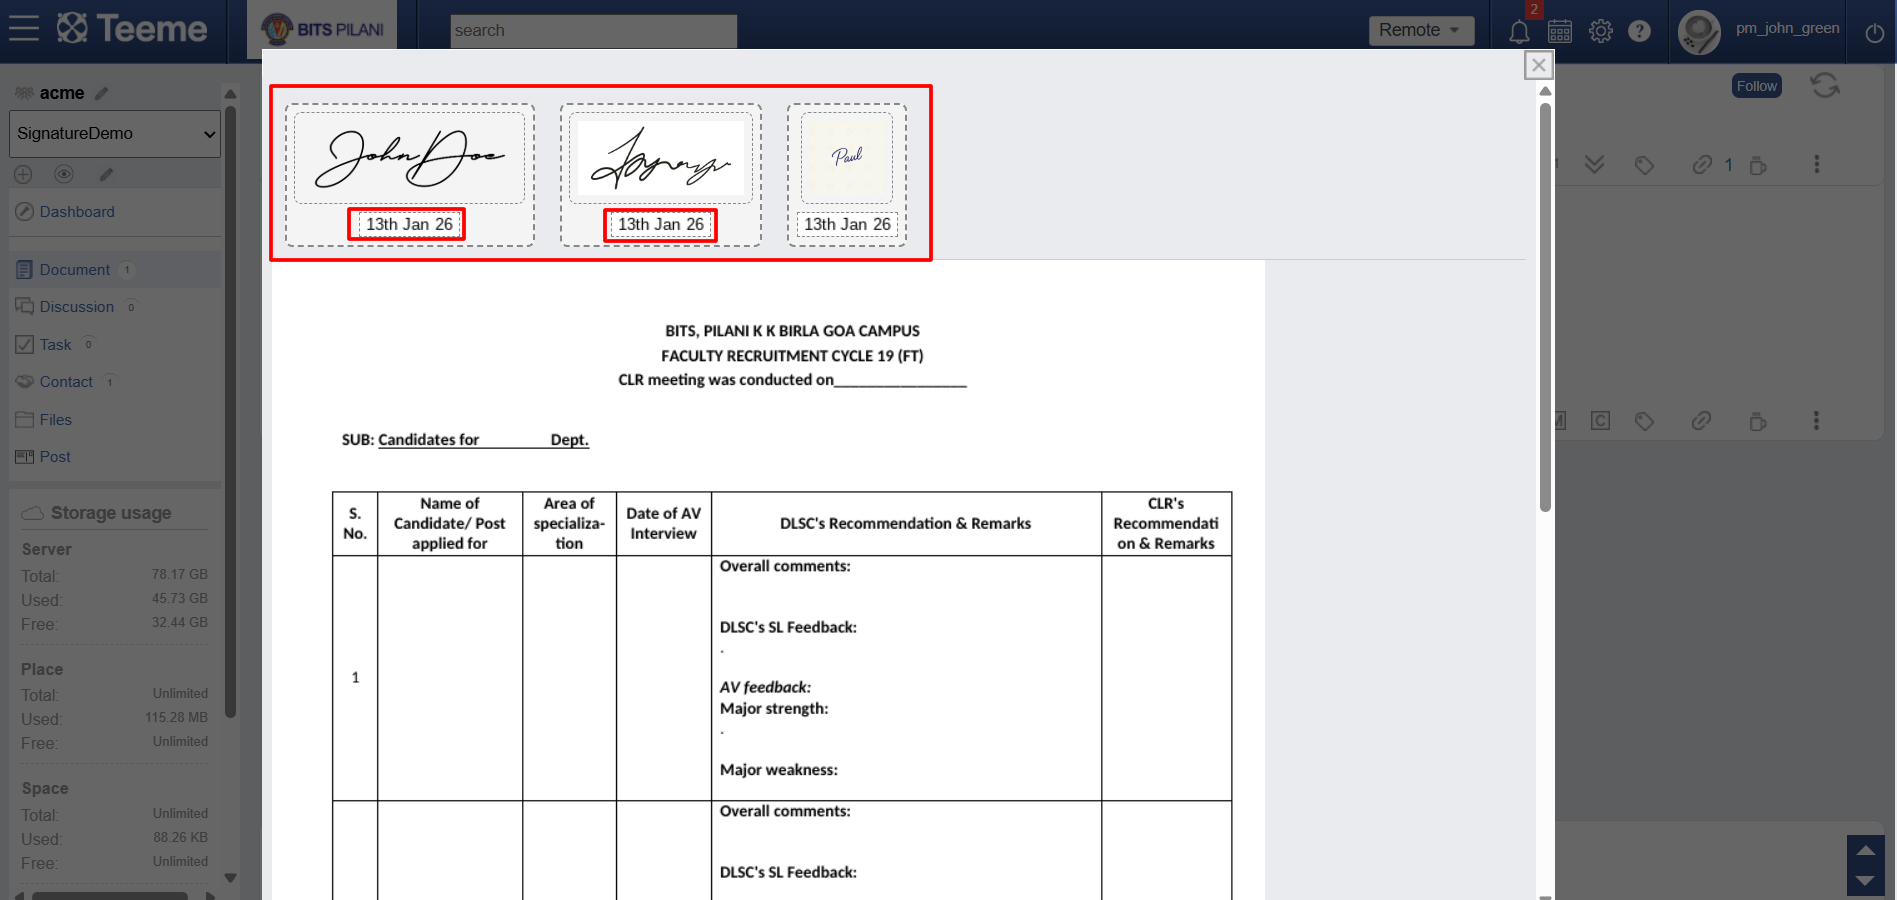
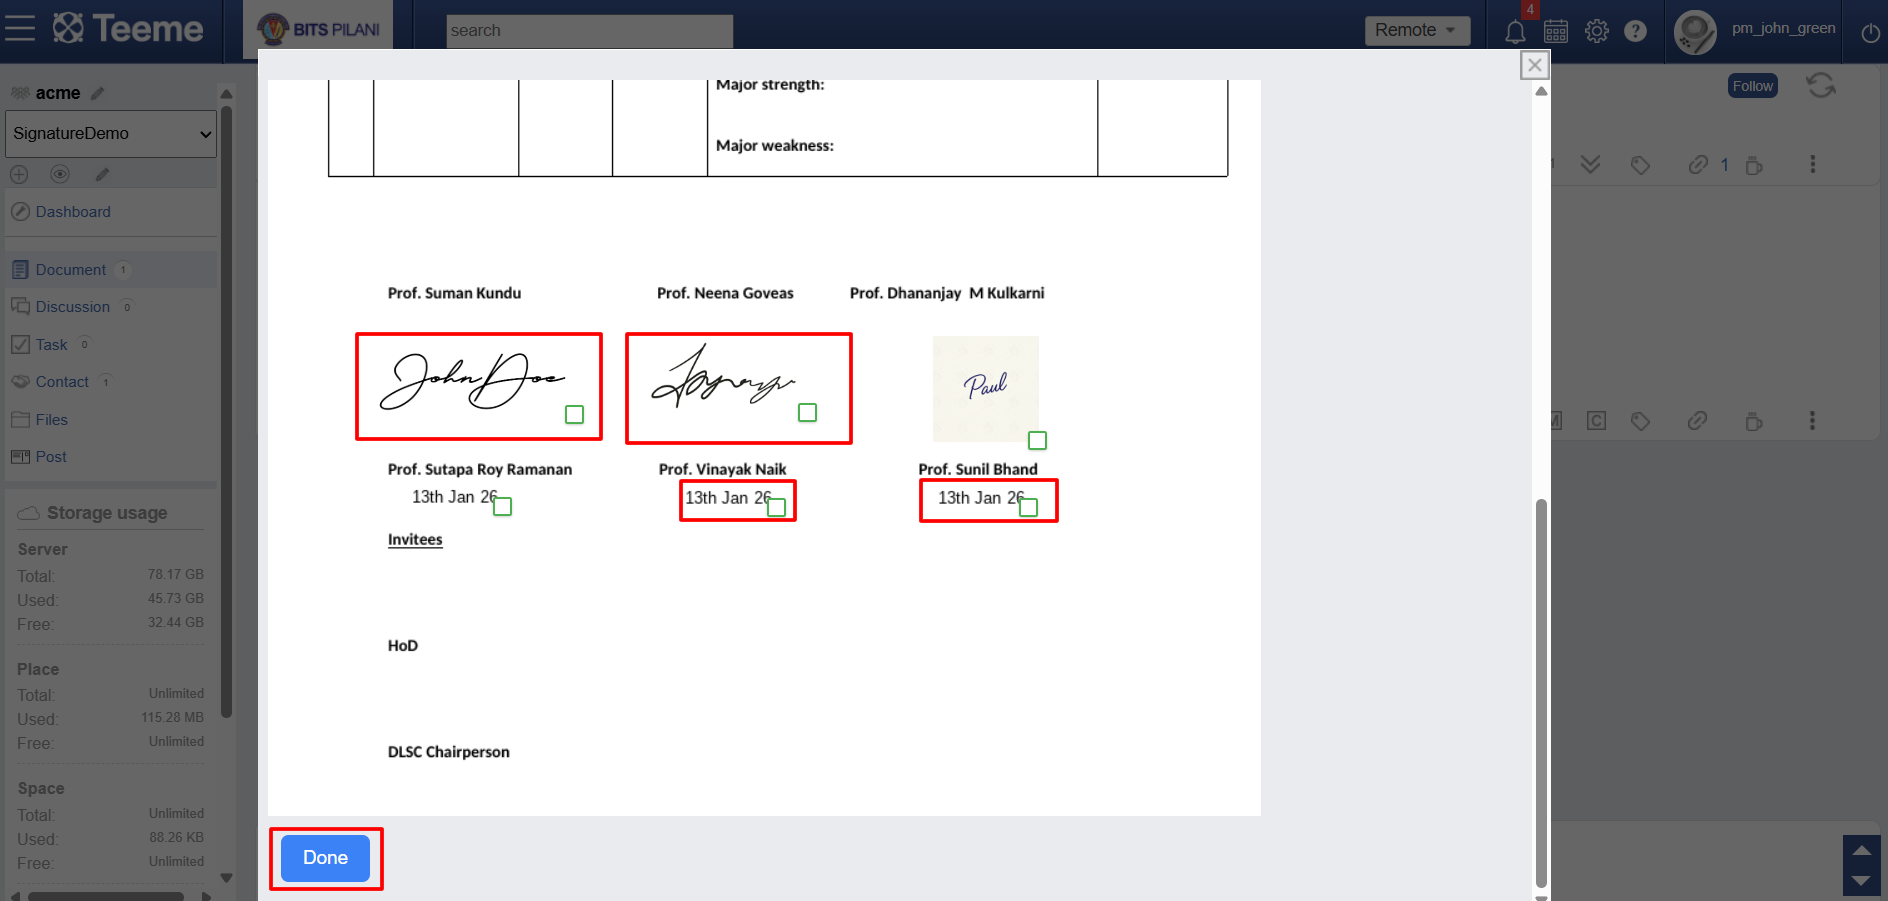
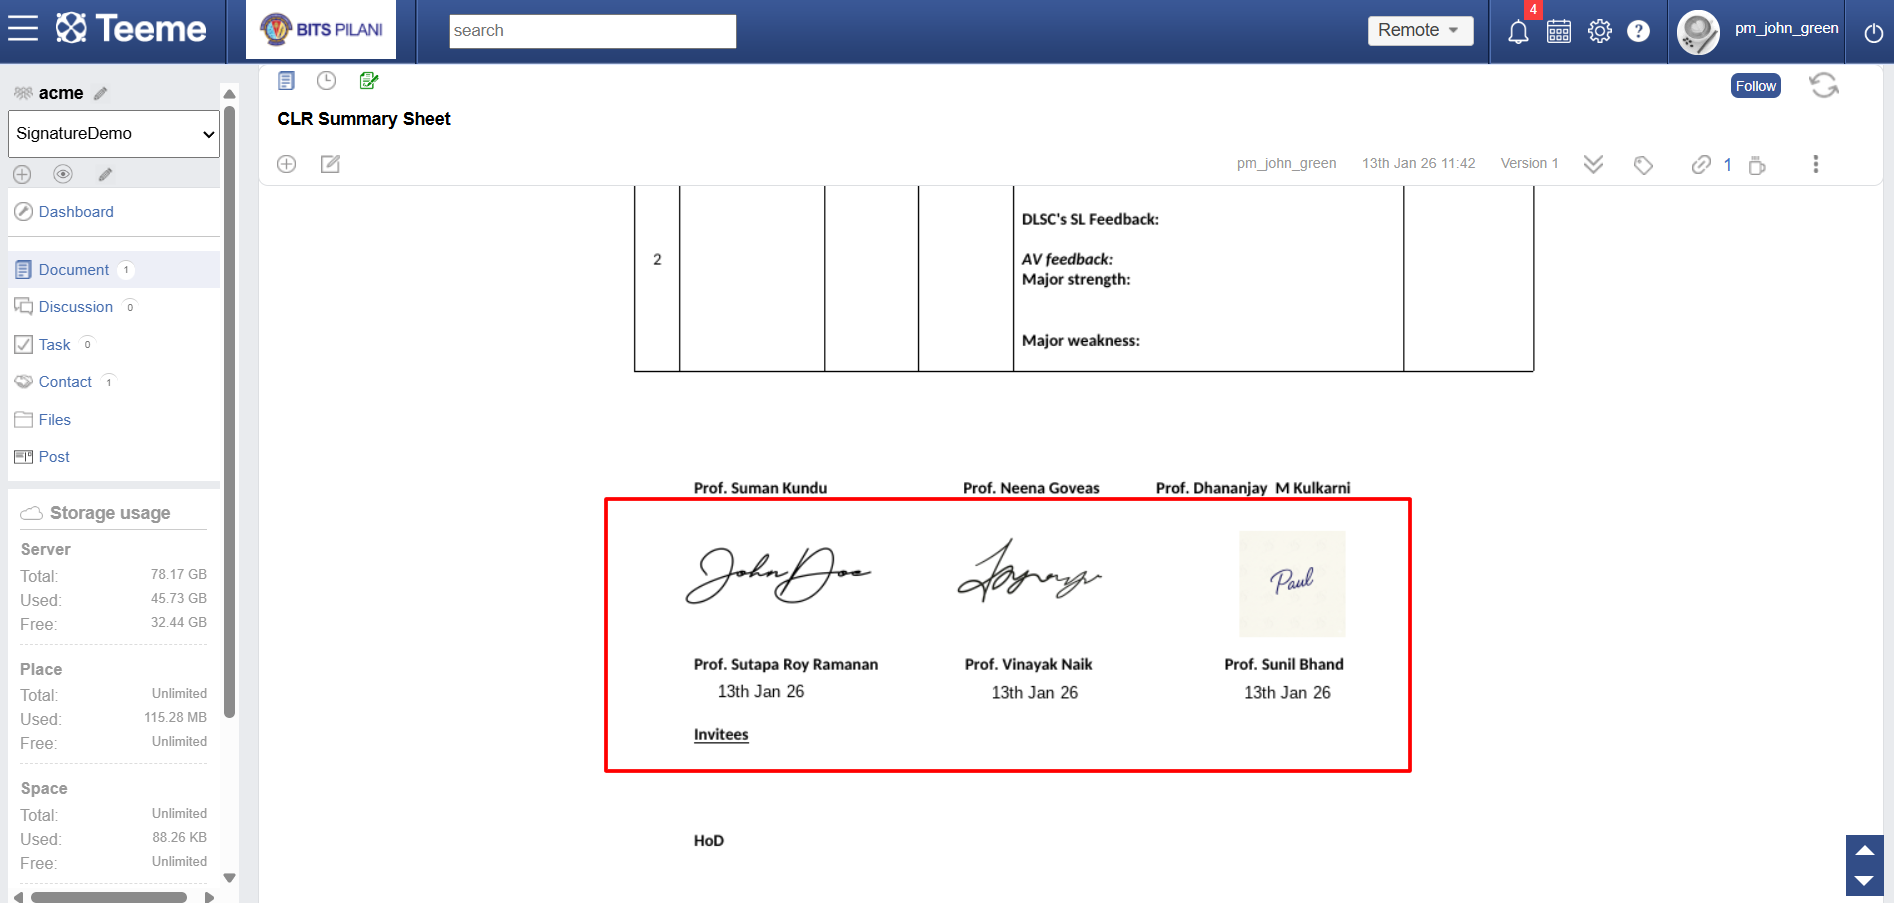
If a section contains images, the document originator can manually place signatures onto them once all signees have responded. To do this, click the Edit button on the section to open the placement window. You will see the collected signatures and their dates arranged horizontally above the section's images. Simply drag and drop each signature onto the desired location on the image. When you are finished, click Done to permanently merge the signatures into the images and finalize the section.

Your signatures
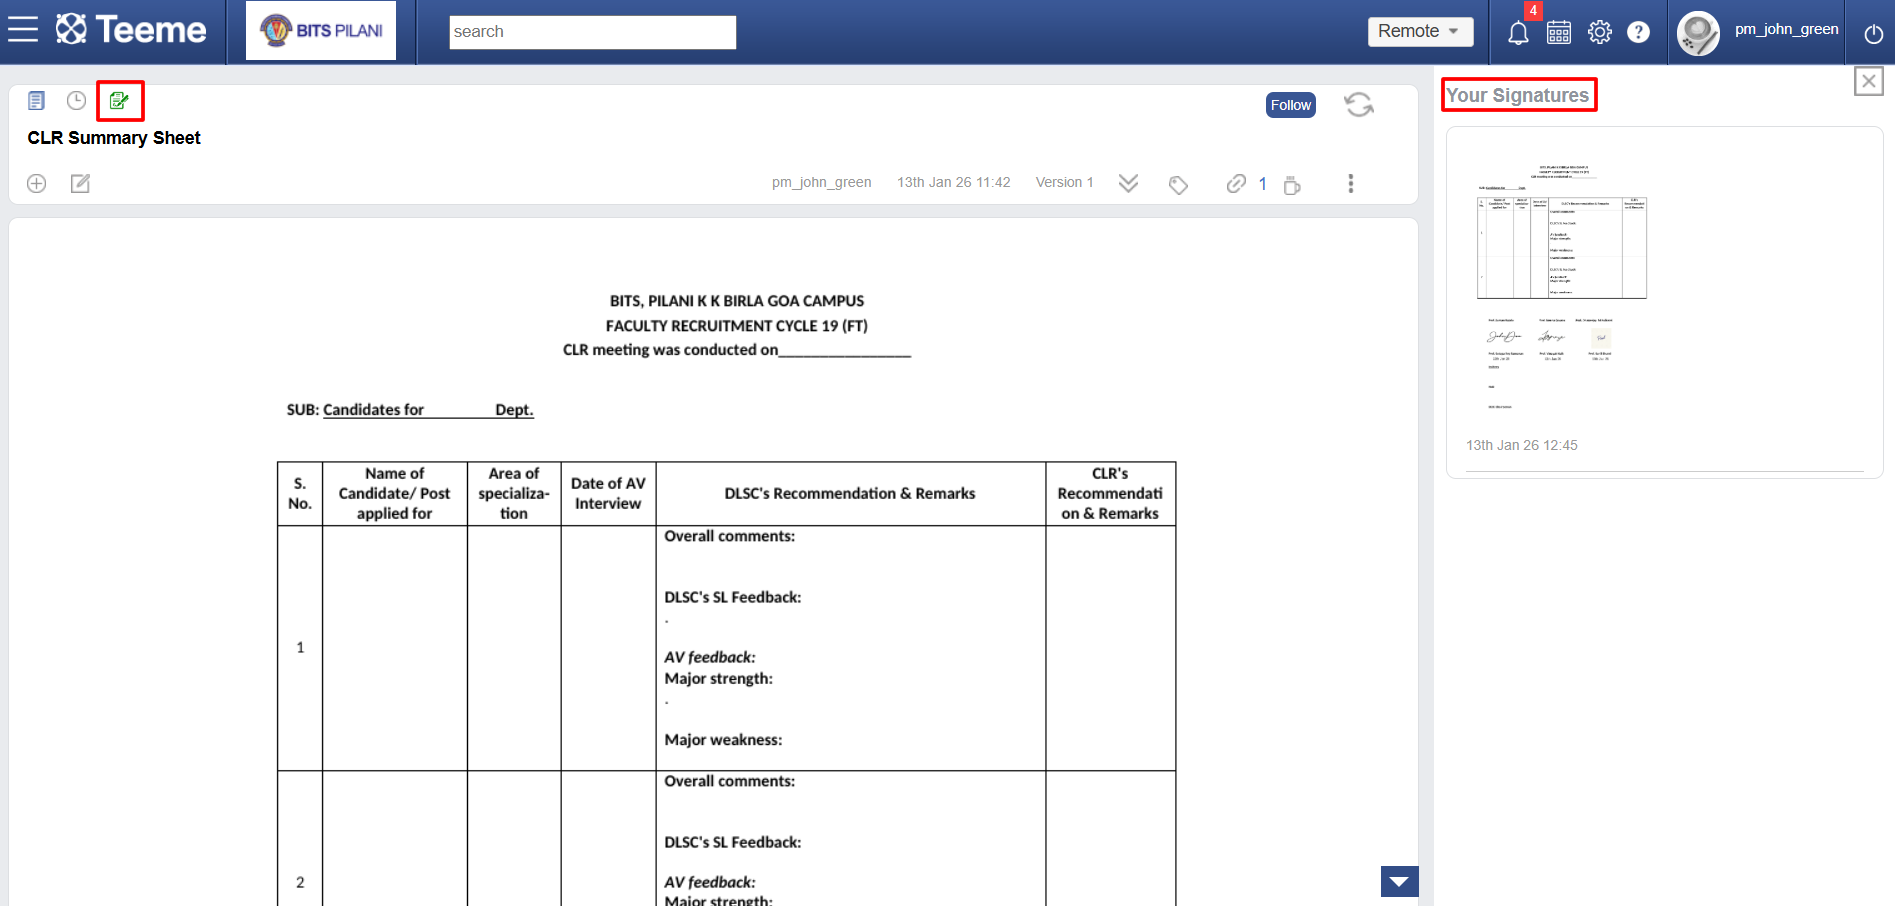
To see a summary of all signatures assigned to you, click the Signature icon in the document header. This opens a sidebar on the right titled "Your Signatures," which lists every request within the document where you are a signee. This list serves as a navigation tool; clicking on any signature entry will automatically scroll the document to and highlight the specific section where that signature is required.
Color tagging in document section
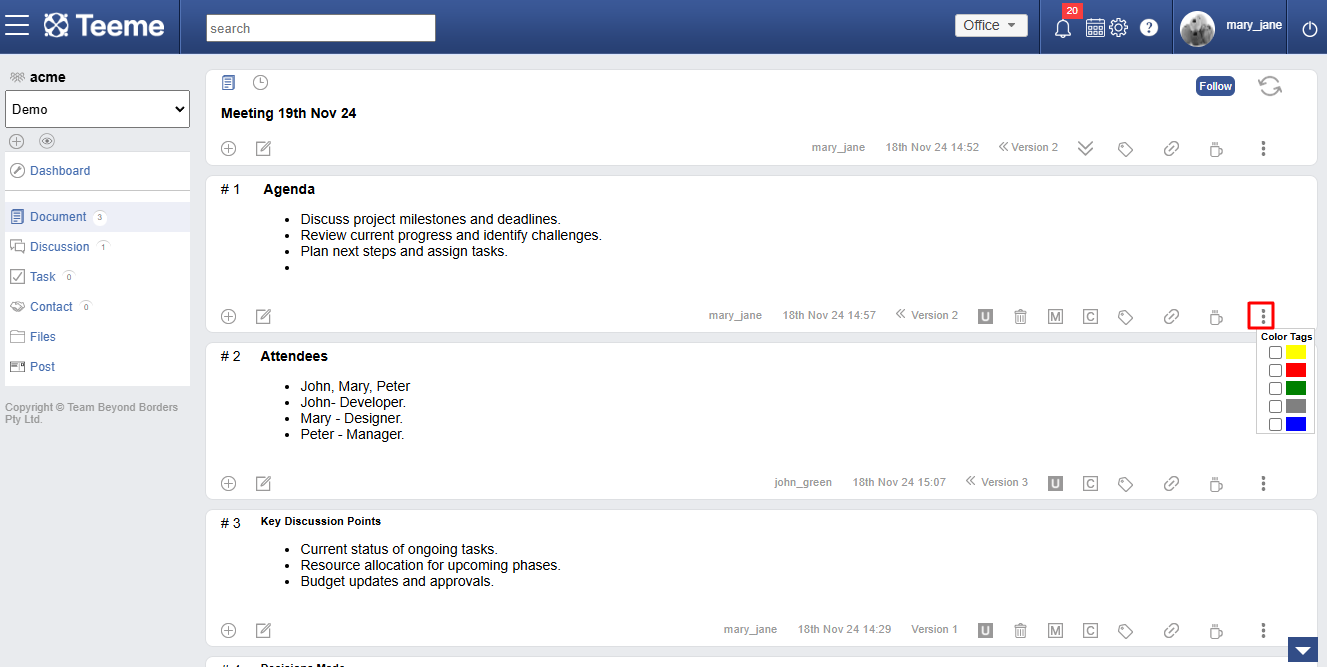
Color tags let you visually mark content using 5 colors — Yellow, Red, Green, Gray, and Blue. You can use each color in your own way — for example, Yellow for ideas, Red for urgent items, or Green for approved content. It's completely up to users.
Linking in document section
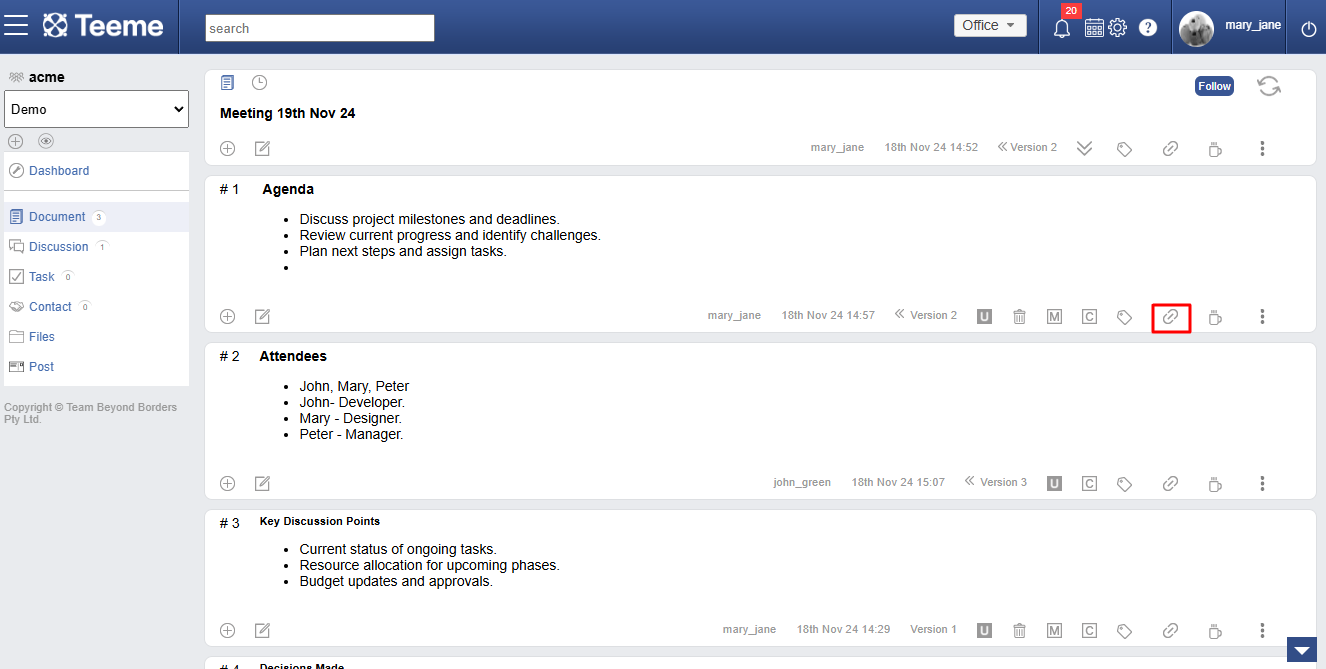
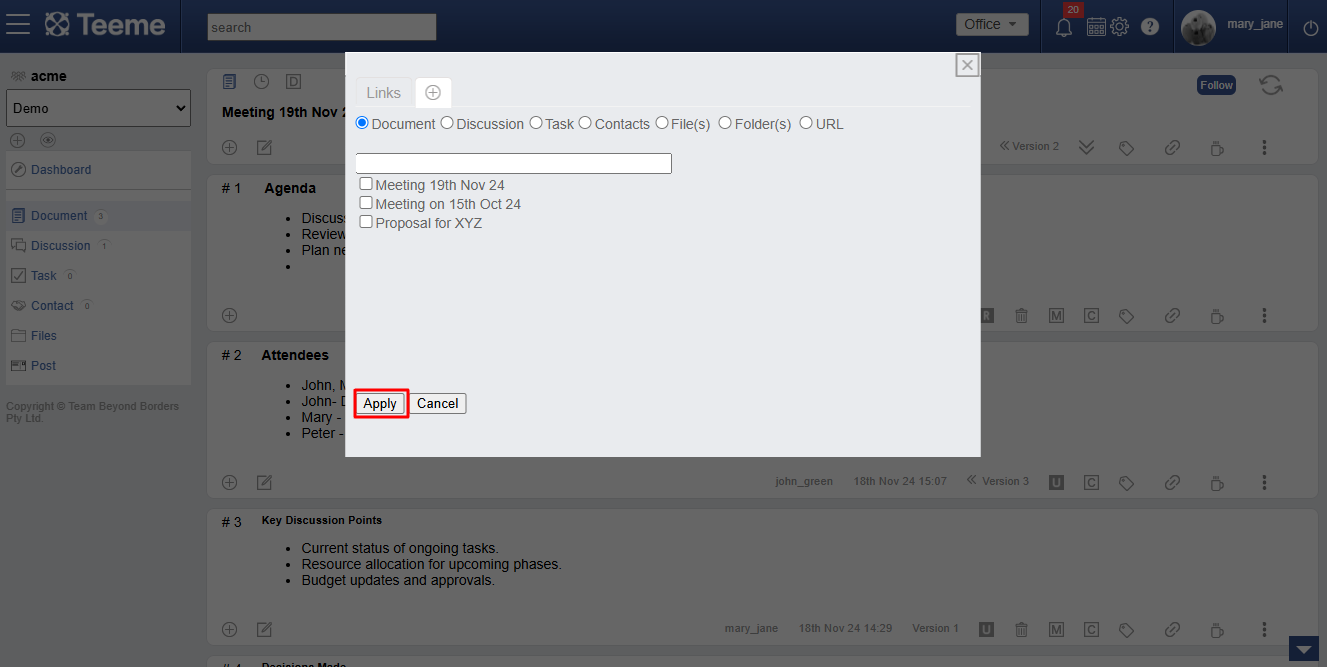
Documents can contain links to other content objects such as document, discussion, task, contact, imported files and URLs. These links provide a way to connect external information to the context of the section.
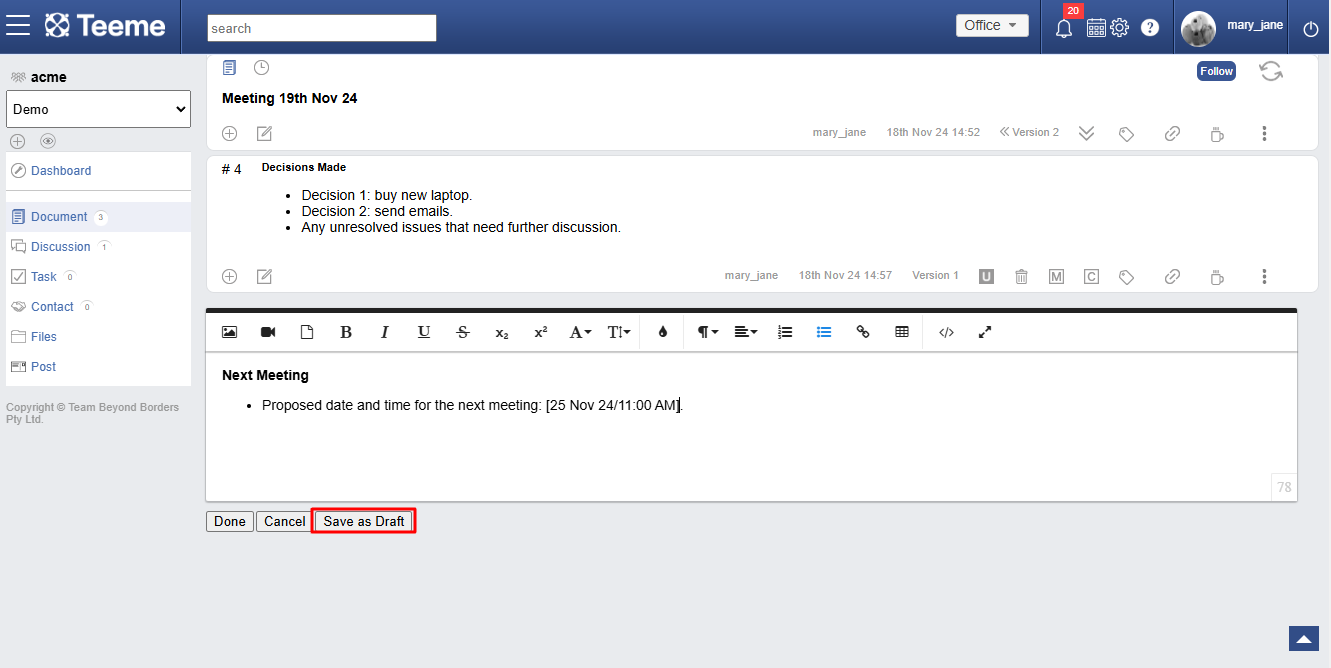
Saving section as a draft
Use Save as Draft to keep your work in progress. Editor can edit a draft section as many times as needed, and when ready, publish it or discard it anytime.
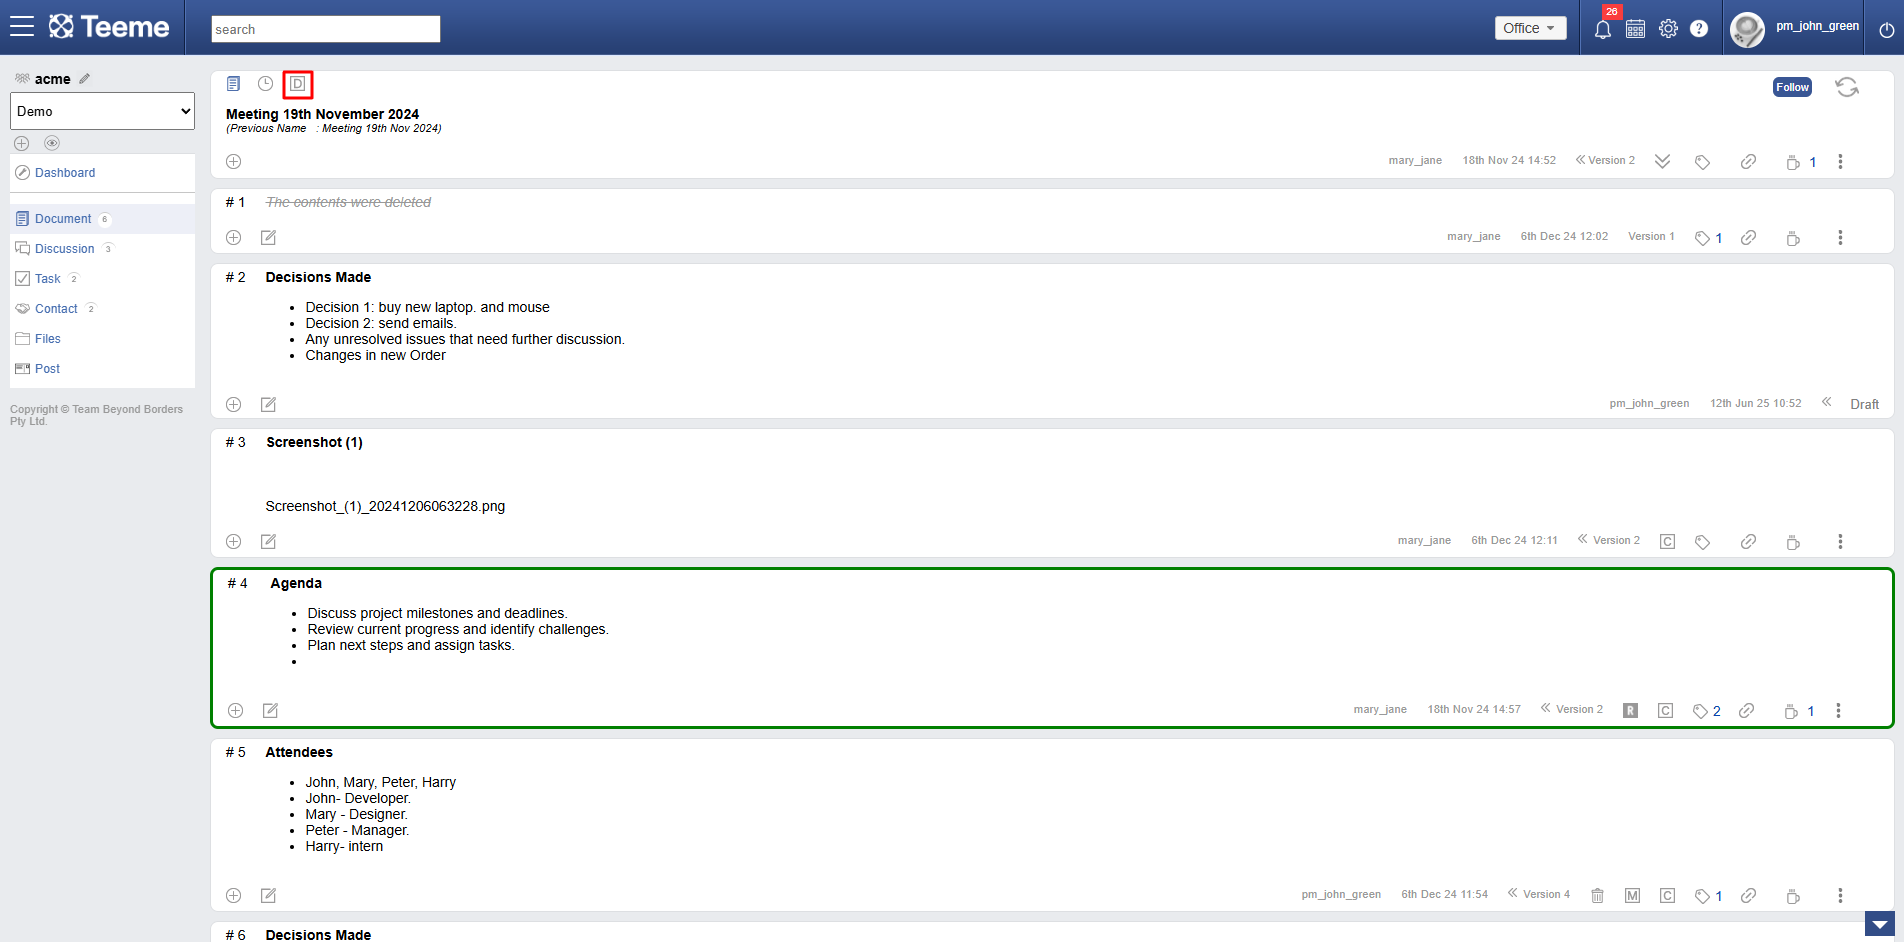
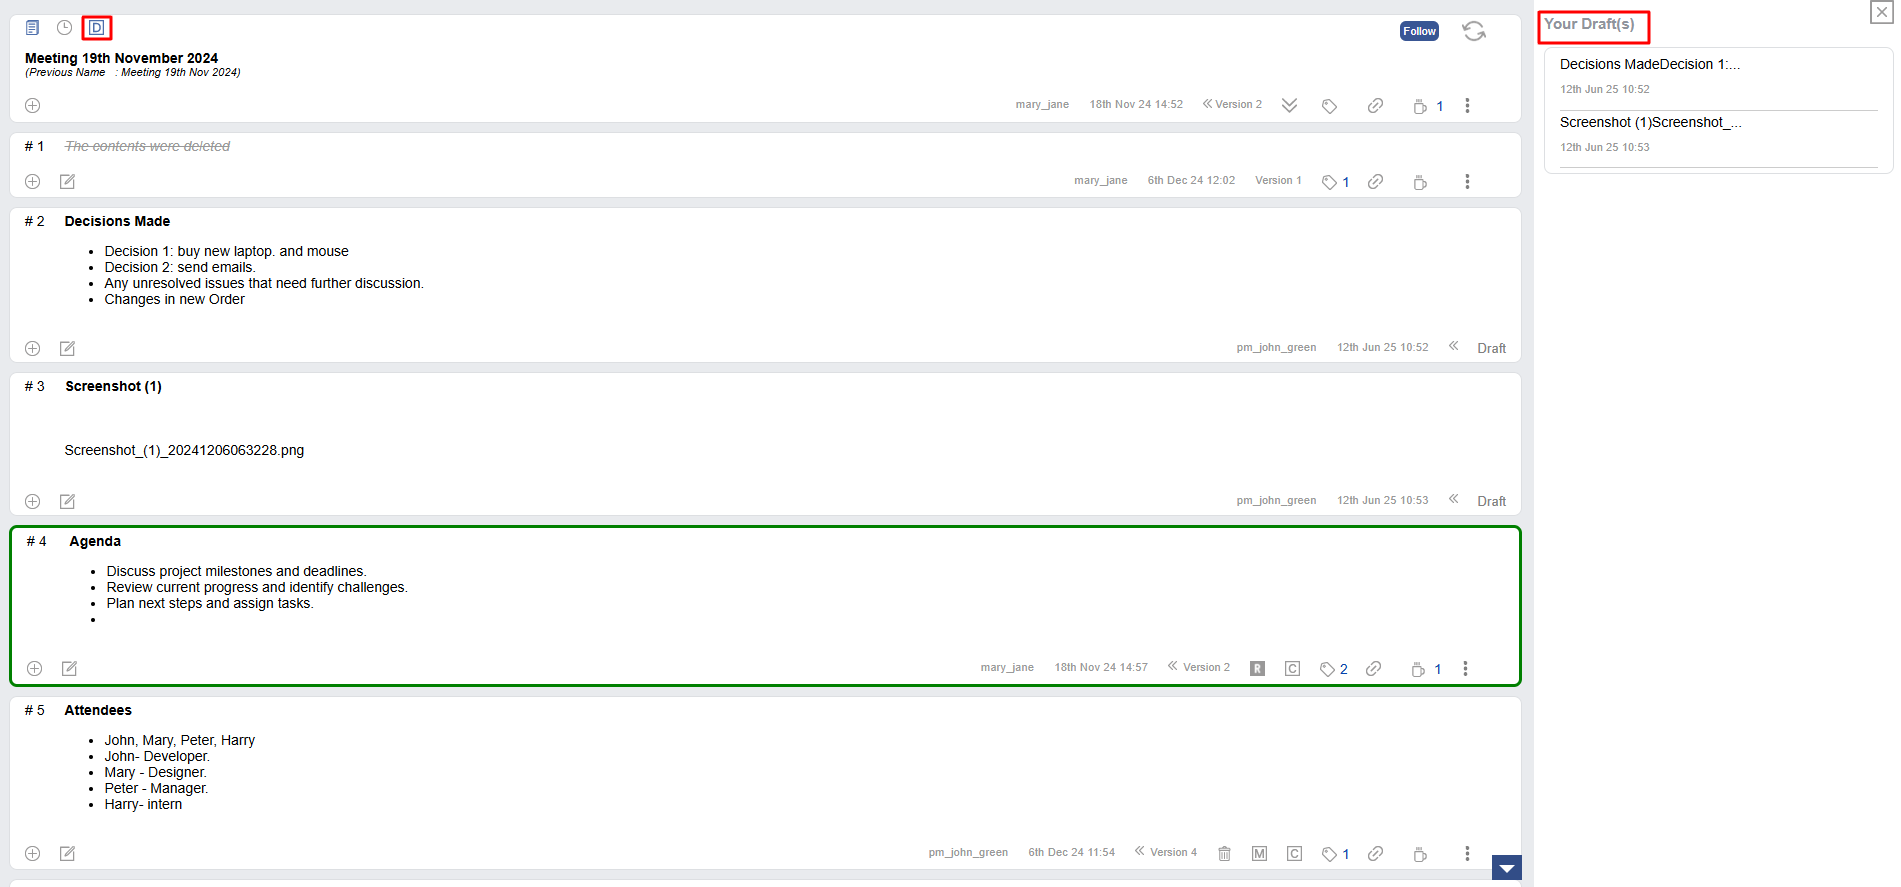
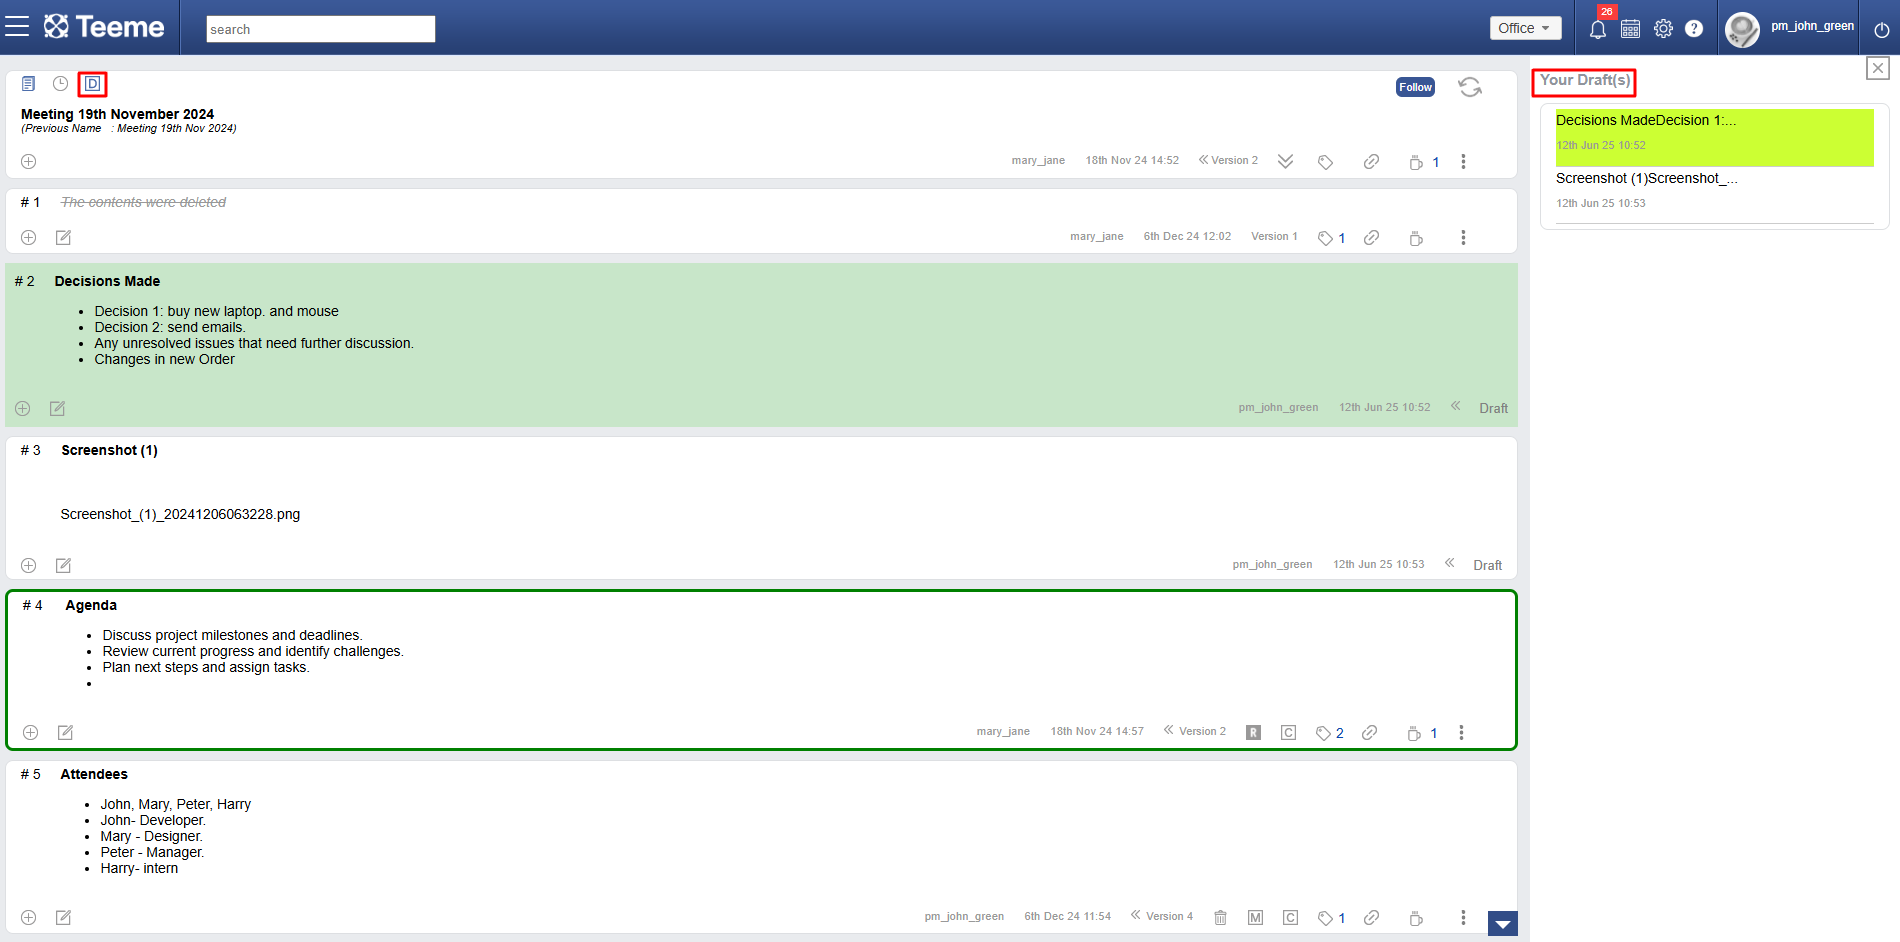
Show document drafts
Click on 'D' icon in document header to open a list of all saved draft sections in the document. Clicking on any draft in the list will highlight that section in the document for quick access.
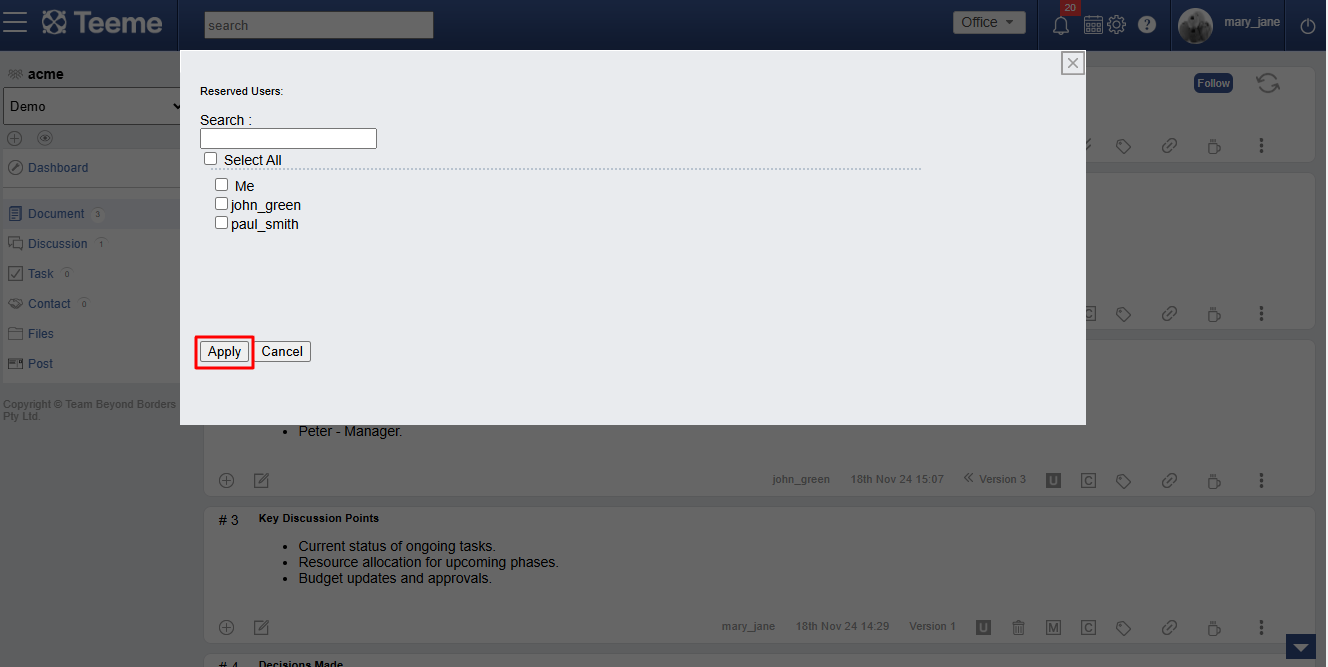
Reserved, unreserved section editors
Some sections may be reserved for specific users chosen by the document creator. Only these selected editors can work on those sections, ensuring focused contributions and better control.


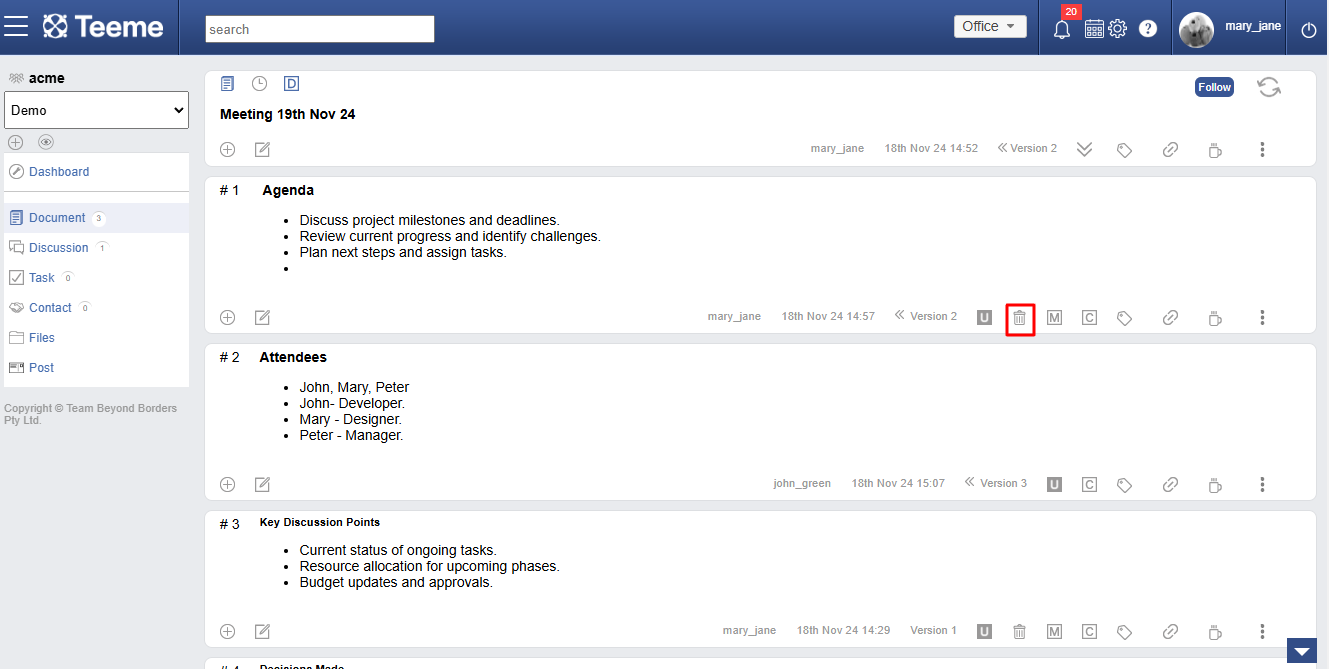
Deleting contents of section
Section originator can delete the content of a section only not the section. This allows editor to clear it out and come back to edit or add new content later.
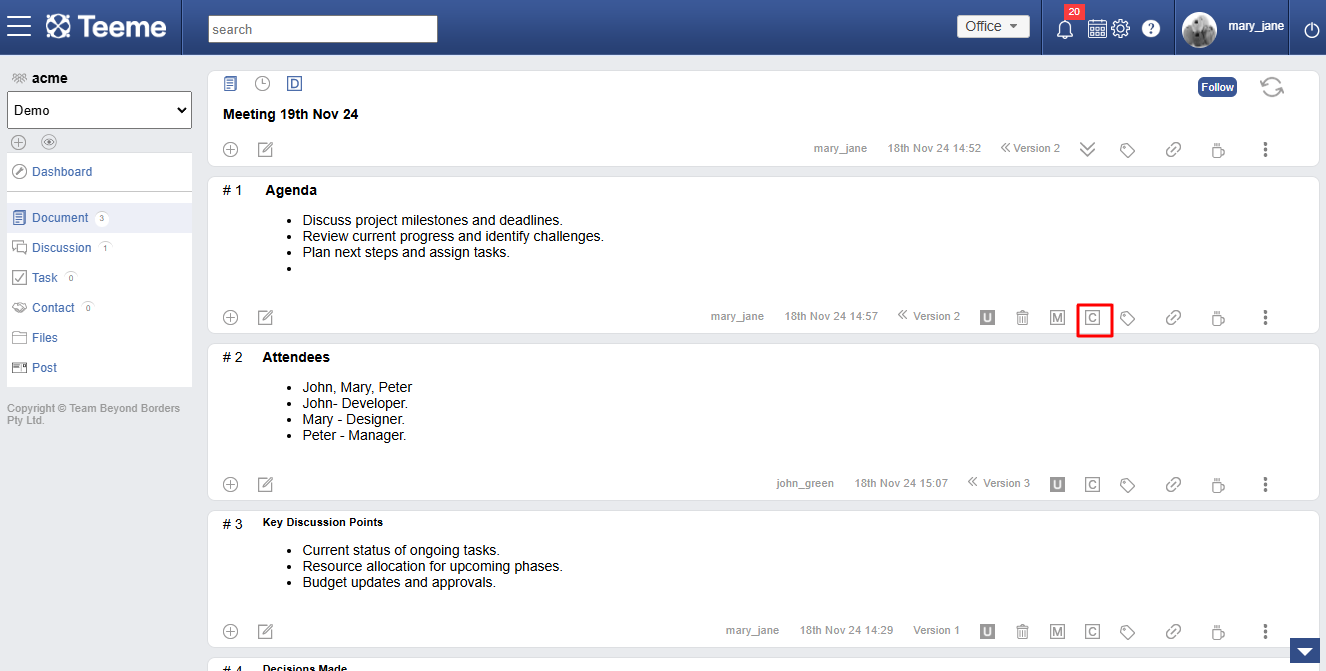
Copying and pasting section
User can copy a section’s content and paste it into the same or another document to create a new section. This helps reuse content without starting from scratch.
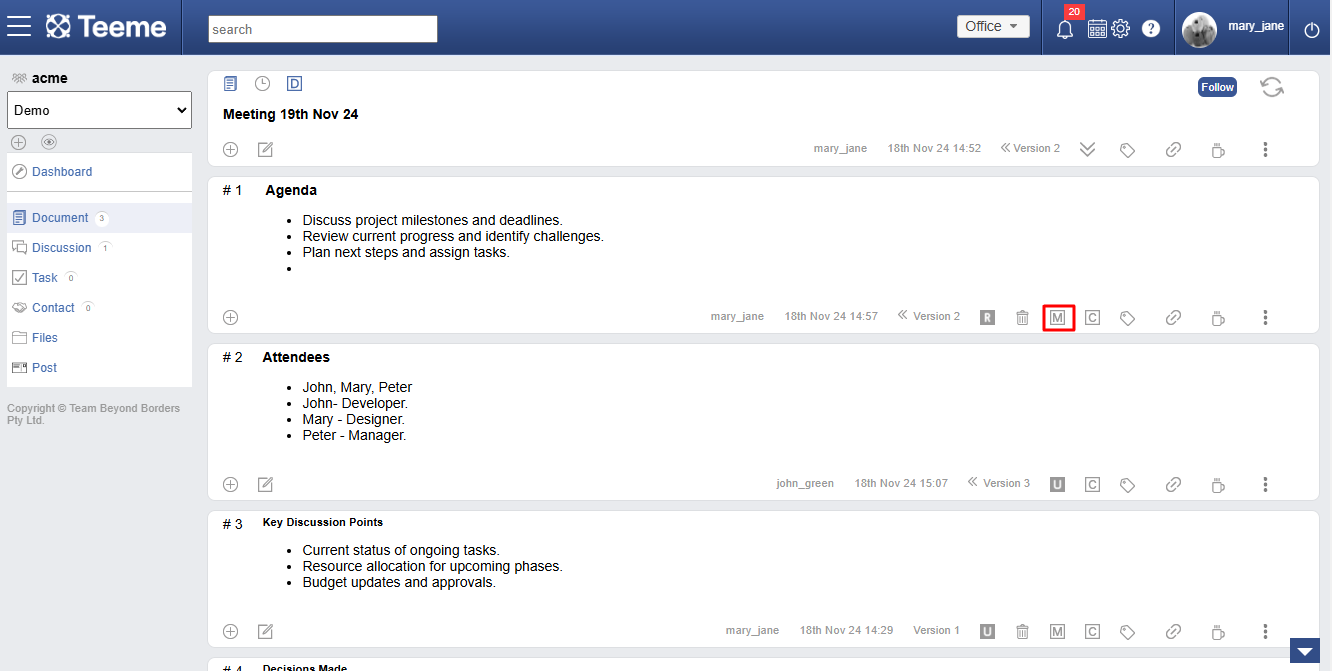
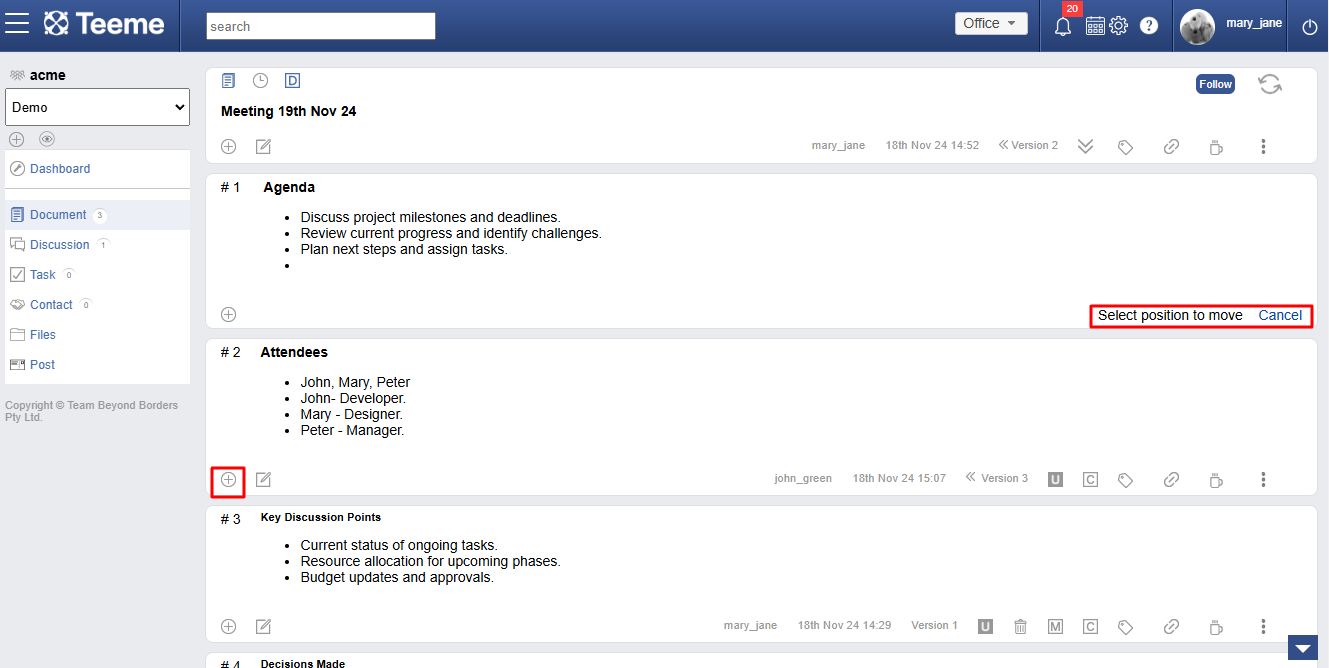
Moving section in document
Section creators can move their section within the document. Based on add section postion editor can move section at top, anywhere or at bottom.
If you have any further questions or need assistance, please don't hesitate to reach out to our support team. We are here to help you!